
Current Projects
Remodeling the
bathroom
Wow what a project this has turned out to be. Here are some pictures of the project as it stands. I didn’t take any pictures of the work I did today on refinishing the tub but I’m sure I’ll post some of those at some time.
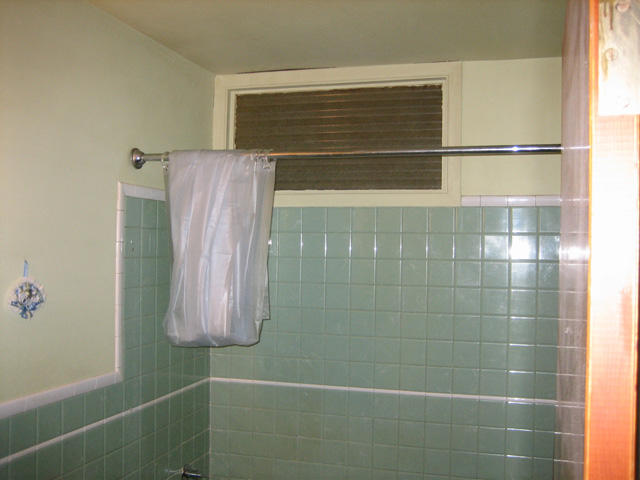
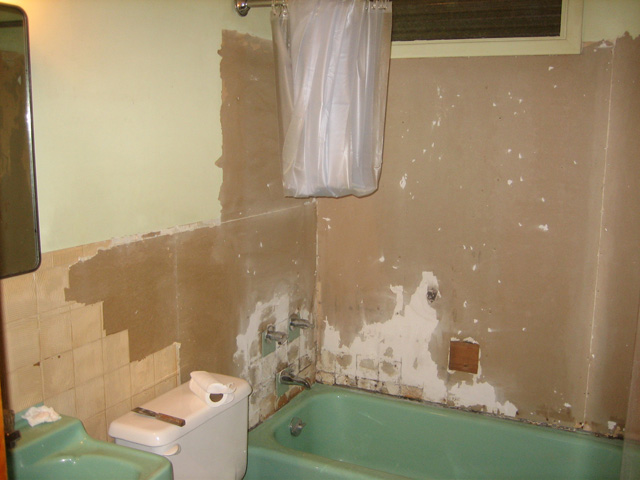
So here’s what the bathroom looked like before I started. I had already removed the sliding glass doors before this picture was taken.
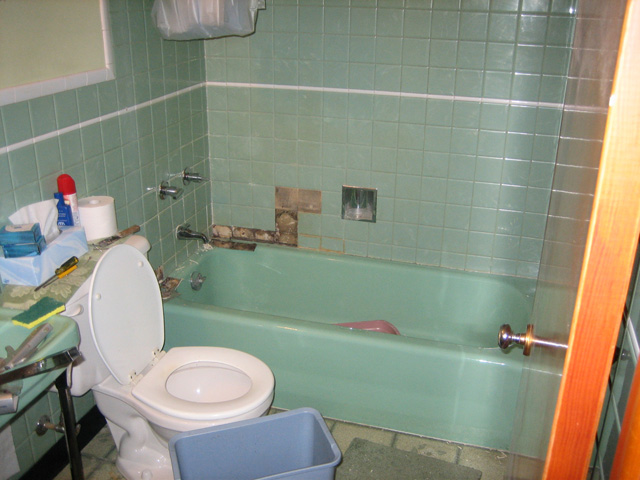
As you can see some of the tiles were already loose and falling off the wall.
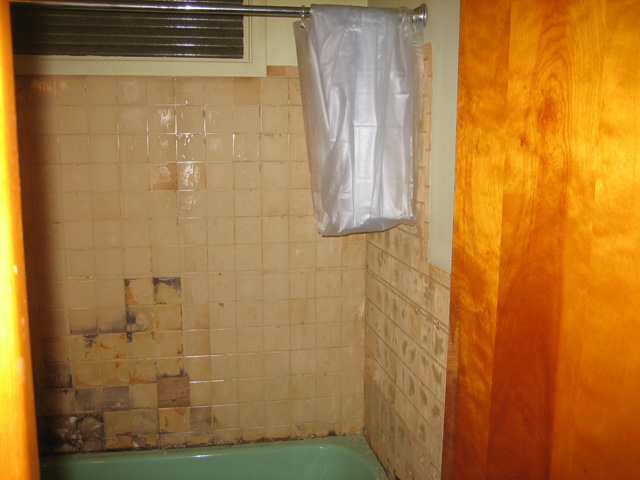
Here I’m in the process of removing all the old green tiles from the walls. They went all the way around the bathroom.
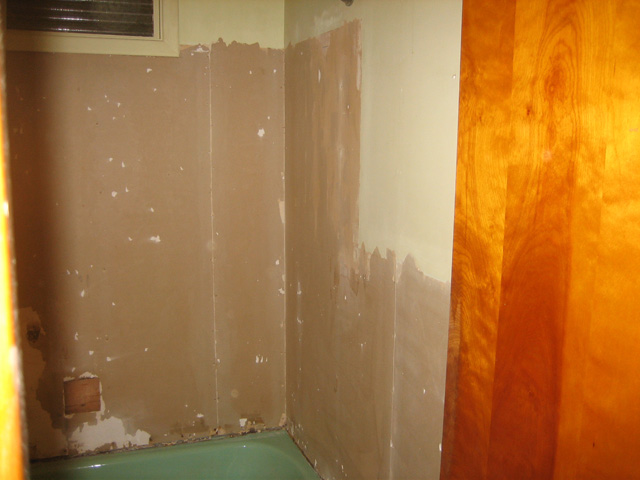
And here are the walls after I removed the adhesive that was used to stick the old tiles to the wall. Believe it or not the removal of the tiles and the removal of the adhesive was not as bad as everyone made it out to be.
Here’s another shot during removal of the adhesive.
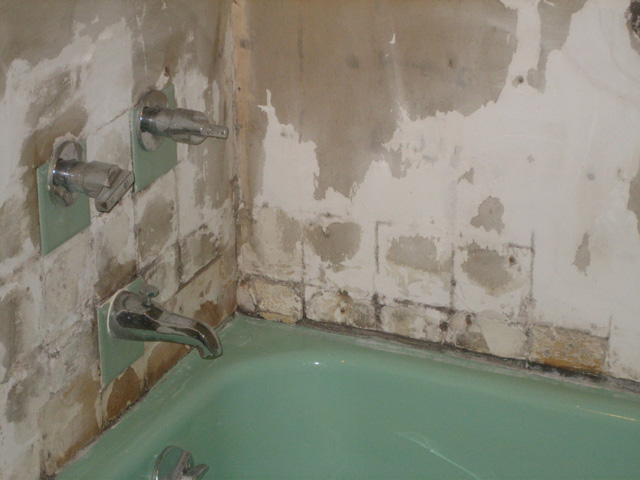
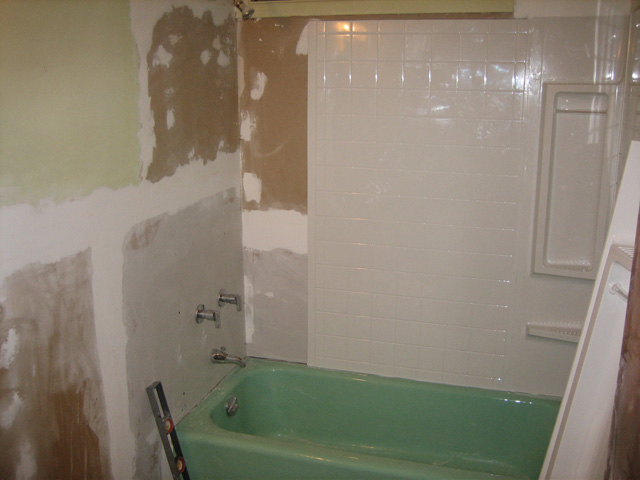
As you can see the sheetrock around the valves and spigot for the tub was pretty well water damaged. Not so bad that it was all the way through the sheetrock but still bad enough that it needed to be replaced. Had I left this in place I imagine that it would have always had this damp mildew smell to it.
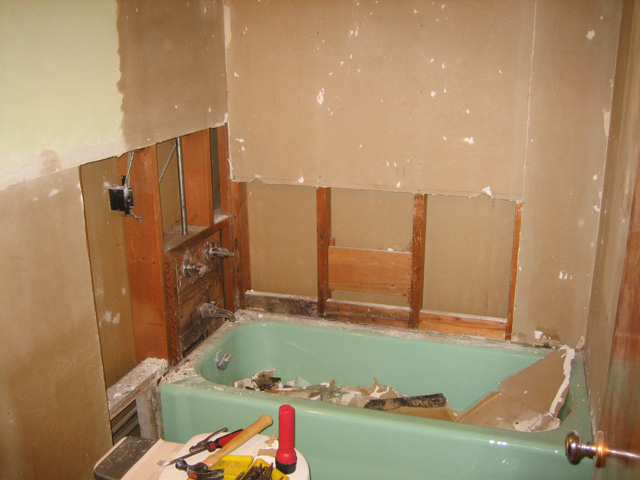
After getting the adhesive off the walls I cut out the bad sections of sheetrock. It’s a bit of a messy job but again went considerably faster than I thought it would.
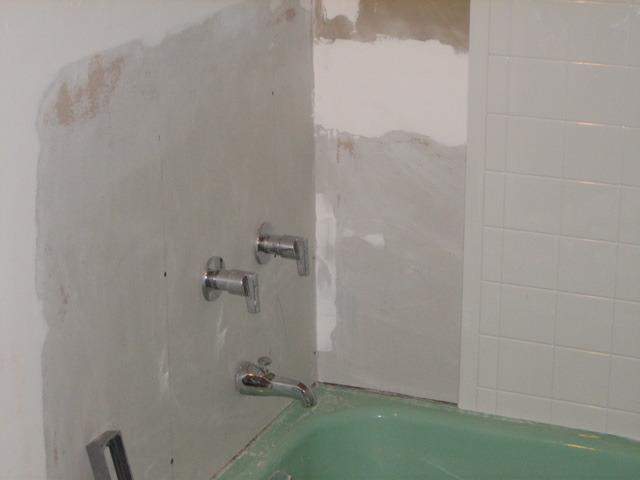
Here you can see where I put in the new sheetrock and started putting up the new surround for the tub. I’m not the best in the world at putting up sheetrock but luckily for me this is all covered by the surround.
Here’s another view of the new sheetrock in place and the surround going up.
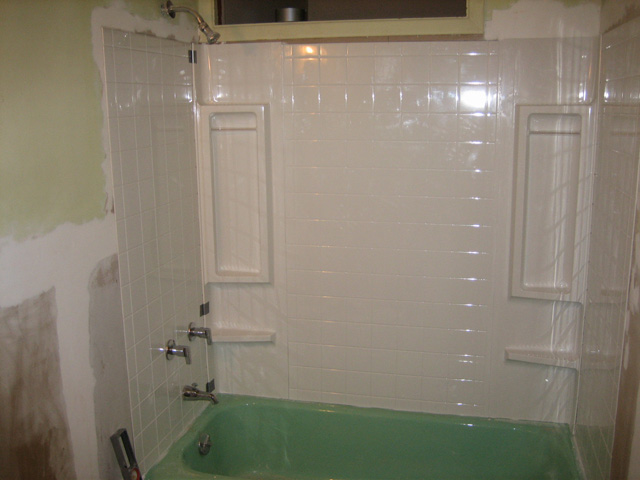
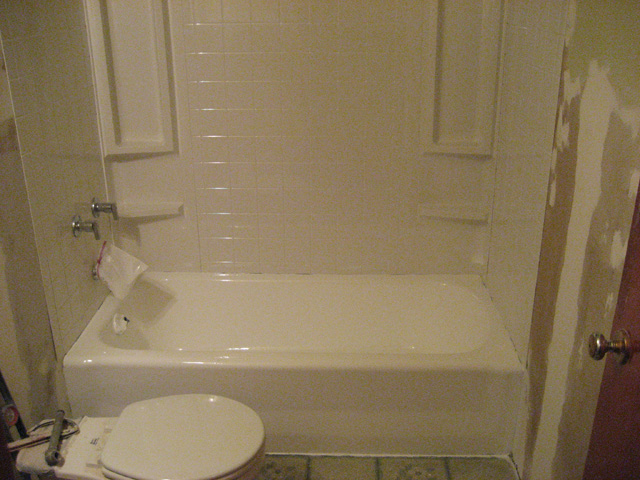
And finally a couple of pictures of the new surround in place. I’m going to have to trim it in a couple of places to make it look even. I guess a 50 year old house settles more than you think it does.
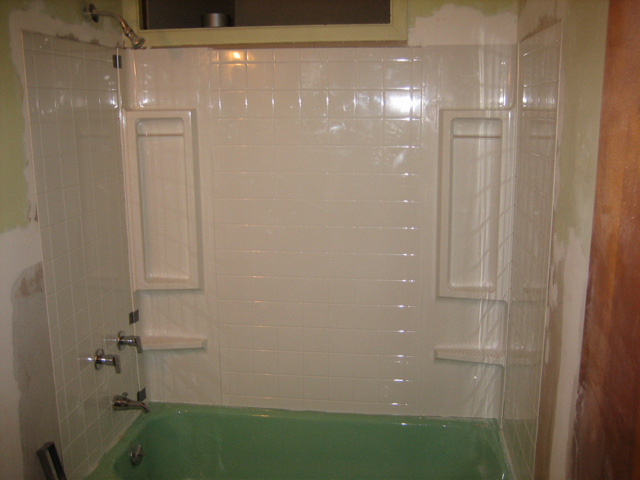
And another shot of the surround. You can also see in the top of the picture that I removed that old corrugated fiberglass window thingy, which I think I’ll replace with something like a stained glass window.
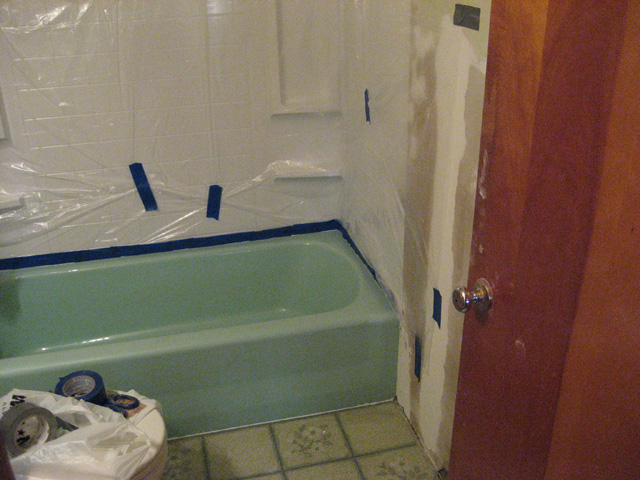
Well I got the tub refinished this weekend. In fact I just finished unmasking it about 30 minutes ago. Man what an ordeal! A fiberglass tub would reallyl be much easier to get really good results on than the porcelain tubs.
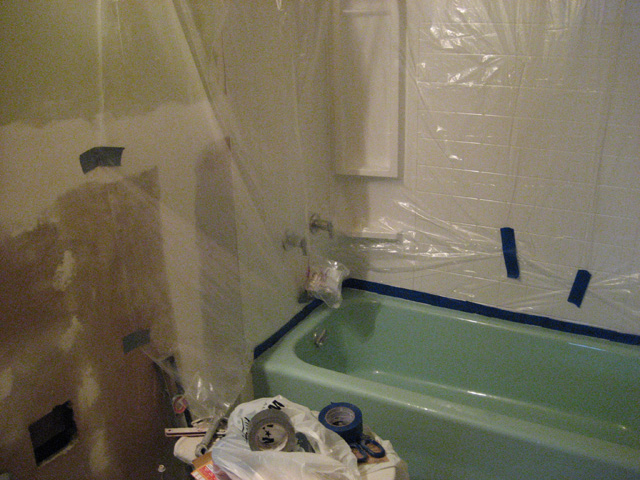
Another shot during the prep/masking stage. I went over the tub with 60 grit paper in the electric finish sander to scuff up the surface, I never realized how tough that porcelain coating was.
Since I chose to spray it this time (which I should have done the first time) I had to basically mask off the entire bathroom. I used an HVLP sprayer that I got at Harbor Freight Friday after work and it did a surprisingly good job, but there was still more overspray than I anticipated. I’m glad now I had everything masked off. I even masked over the opening between the two bathrooms.

Another shot during spraying. I put 3 coats on it as instructed in the instructions they send.
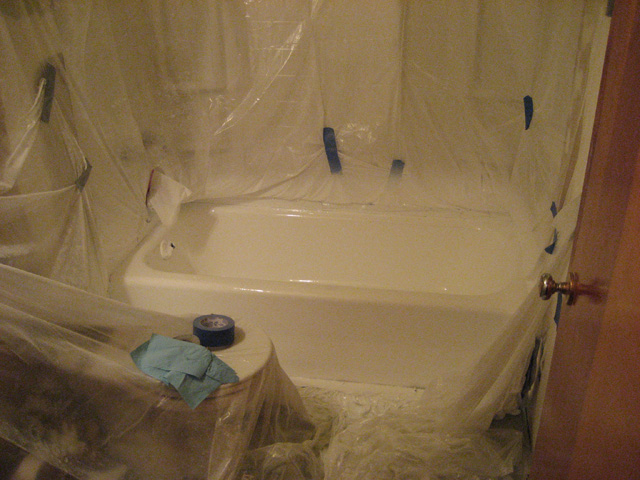
And here it is after unmasking.

And one last shot. If anyone is thinking about doing this I would strongly suggest you spray it instead of using the roller and brush that come with the kit. As someone who used to paint for a living that should have been a red flag right there. Hahaha I would also suggest straying from the instruction in the kit, I wouldn’t use the powdered “cleaner” and “porcelain prep” that is included in the kit. I got much better results the second time by sanding the porcelain surface with 60 grit in the electric sander, and then wiping the whole thing down with acetone before spraying. And for those who aren’t real experienced with spraying paint, get yourself a good quality respirator to wear while doing it, you’ll thank me later.