
My First Customized Harmonica
So
I recently started playing the harmonica again and true to my nature I
can't leave well enough alone, so I figured it would be fun to start
customizing my harmonicas. I've seen a number of them on the web that
had combs made from different materials other than wood so I thought it
would be fun to try and make a new comb for my Grandpa's Hohner Blues
Harp. The blues harp originally had a wood comb and was assembled with
nails, so tonight I made a new comb from brass and reassembled the harp
with screws.
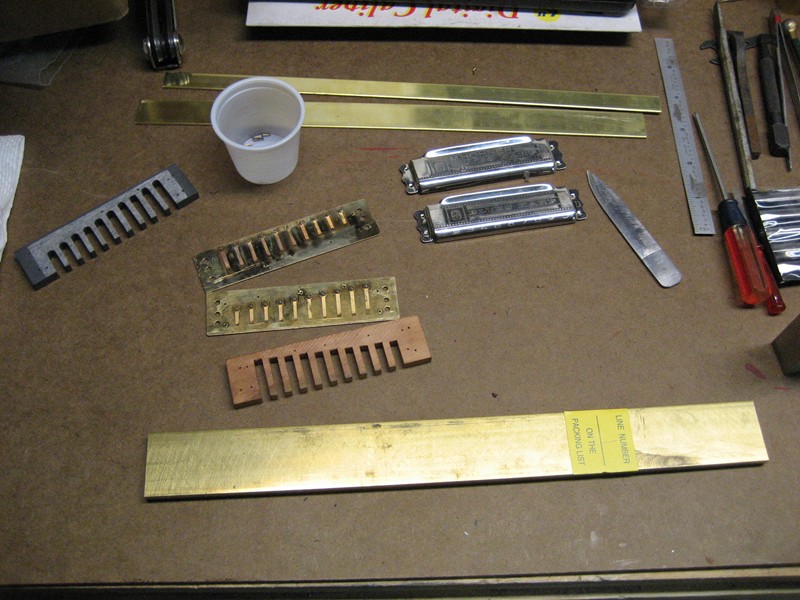
I started by taking the harmonica apart and removing the plastic comb I made the other day.
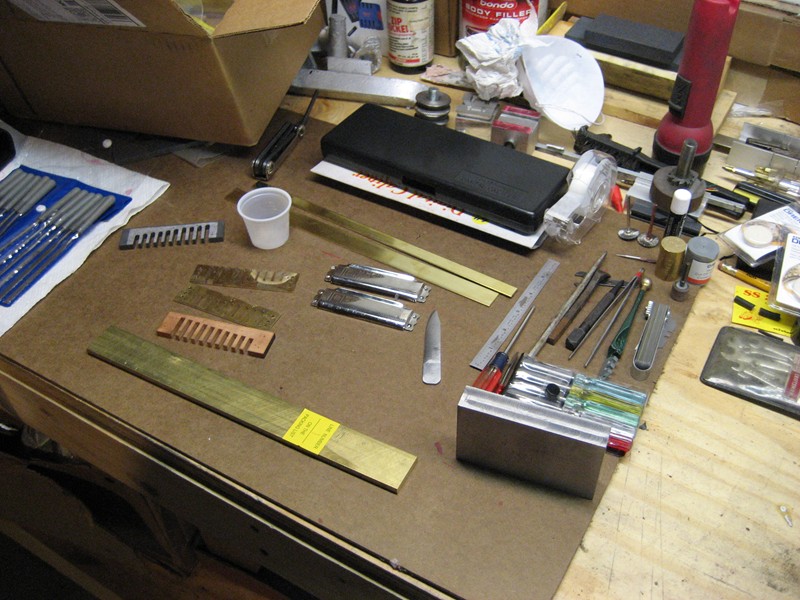
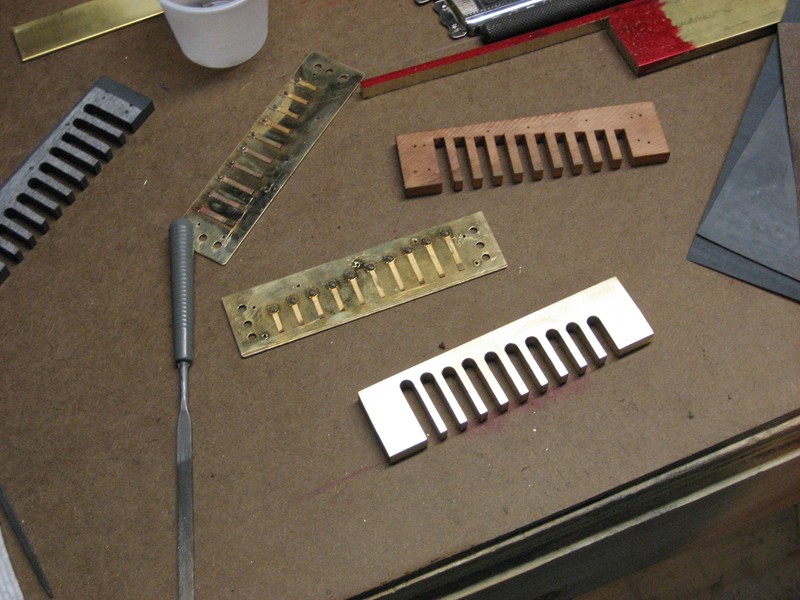
A nice shot of my messy workbench. The steel rectangle in the lower right hand corner is the start of a new reed replacment tool I'm making.
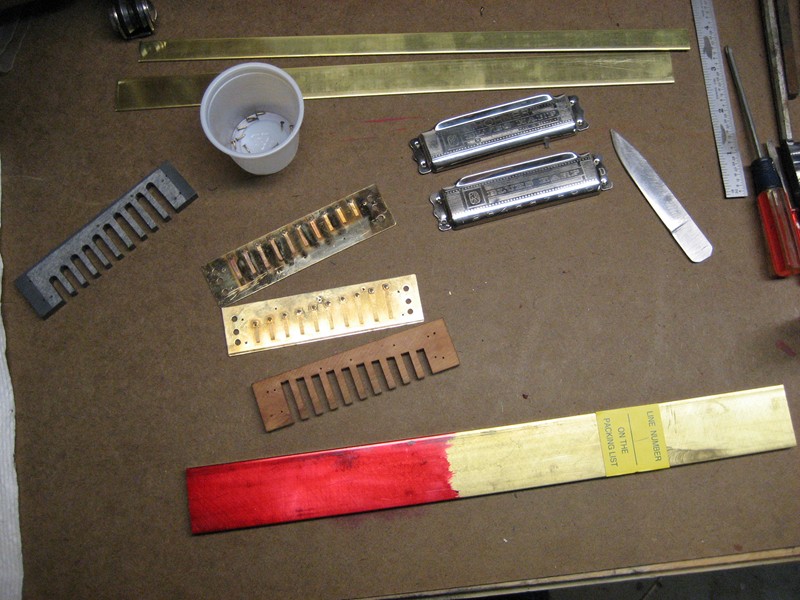
I brushed on some dykem steel red dye to make the layout lines easier to see.
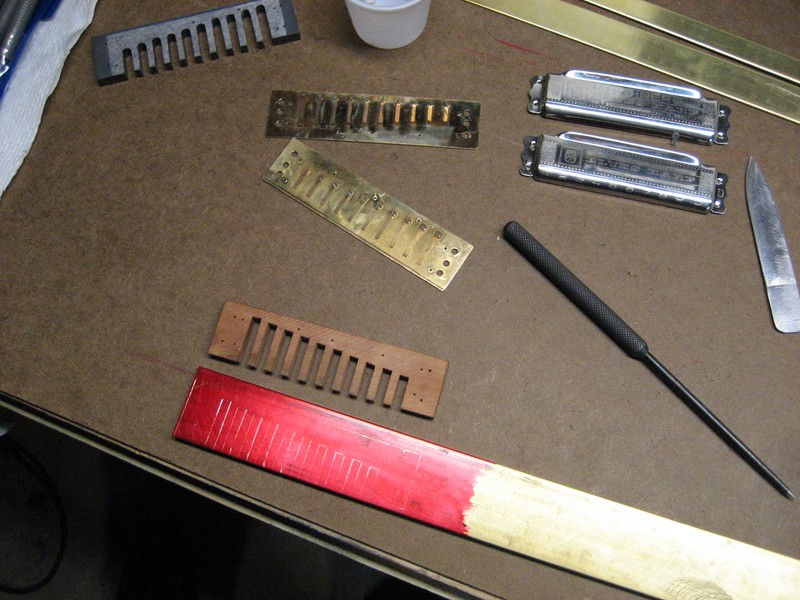
Here you can see where I've laid out the lines from the original comb. I left a little extra all the way around the comb so I could sand everything down to get a really nice finished look.
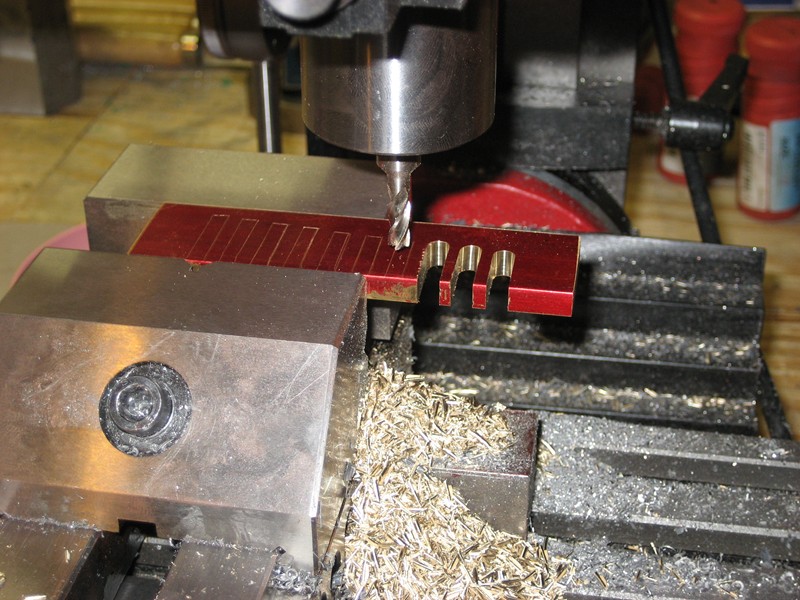
Milling the slots in the comb
Another shot of the milling process.
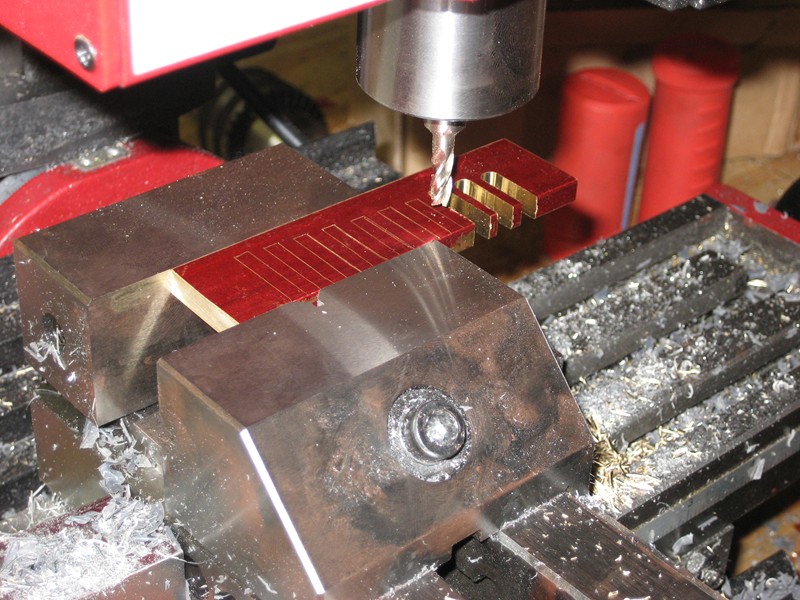
Coming along nicely. Only 4 more to go.....
Once I get to a certain point I switch the direction that I'm working in. Usually when I get half way down the comb.
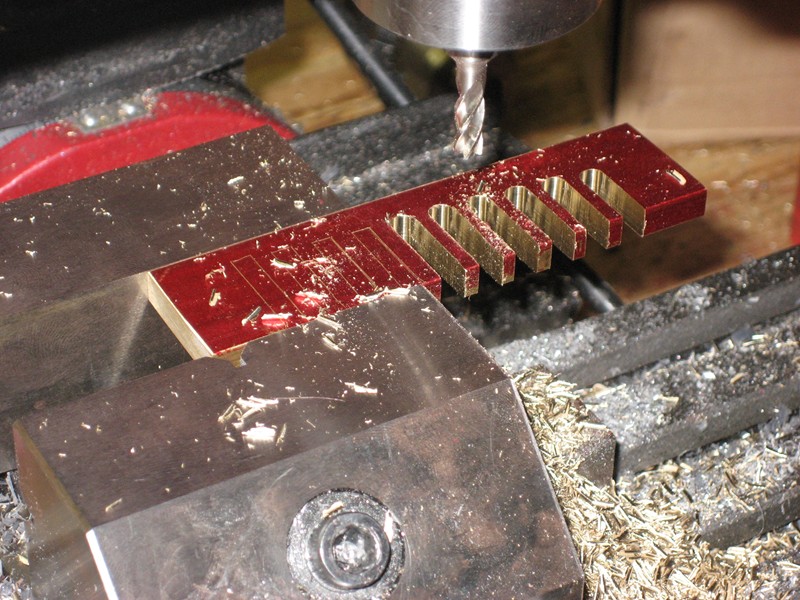
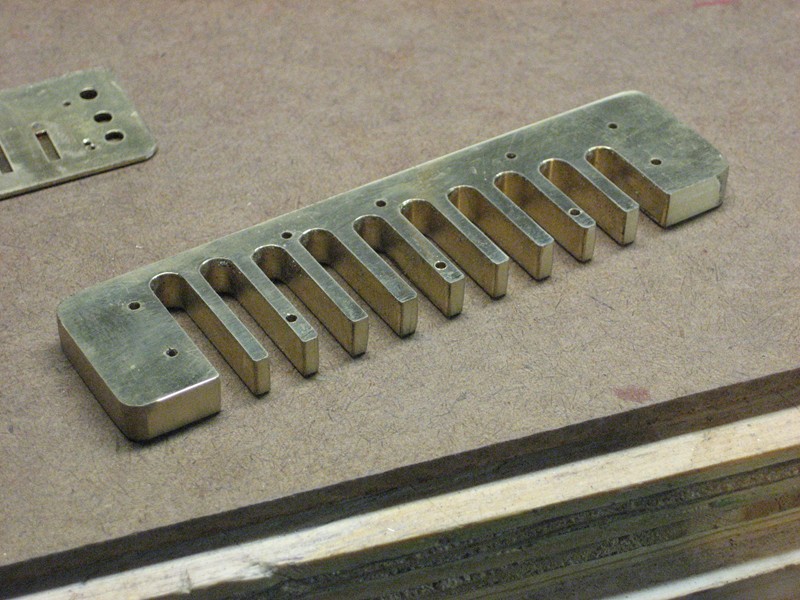
Here it is with all the slots milled and the dye removed.
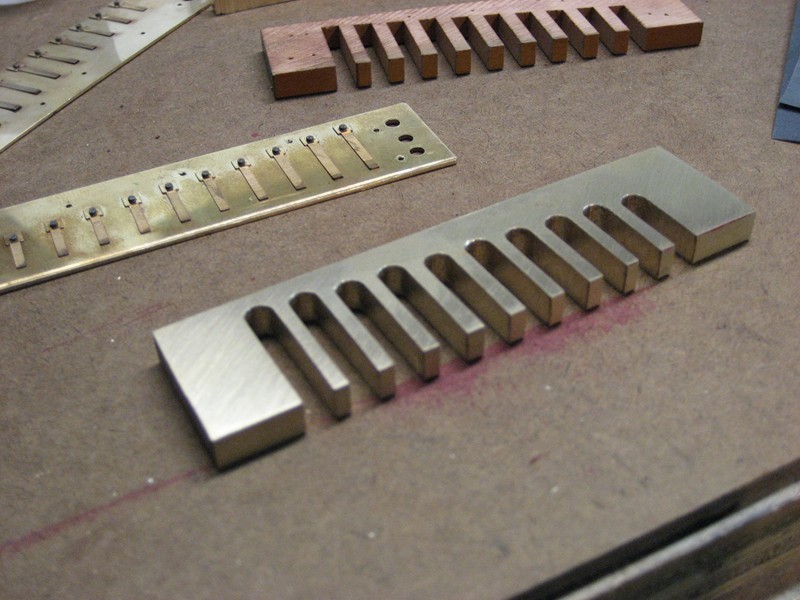
A closeup shot of the comb.
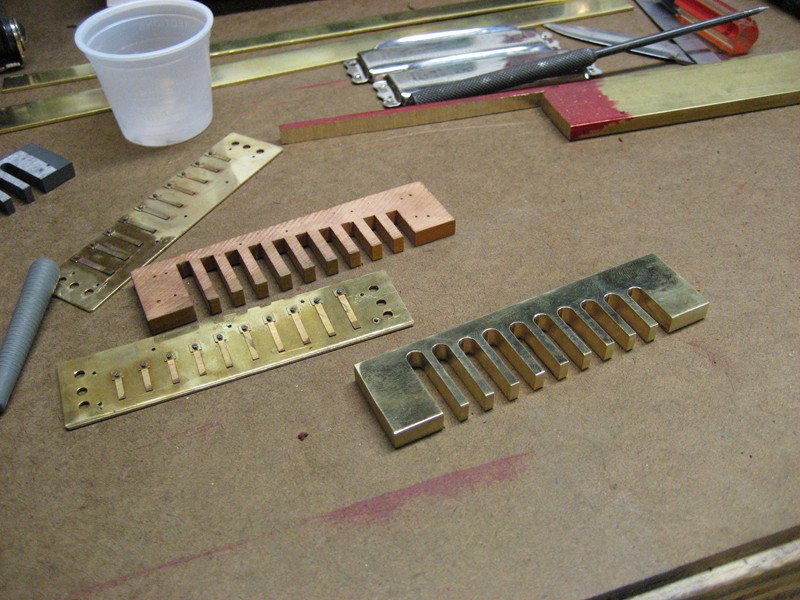
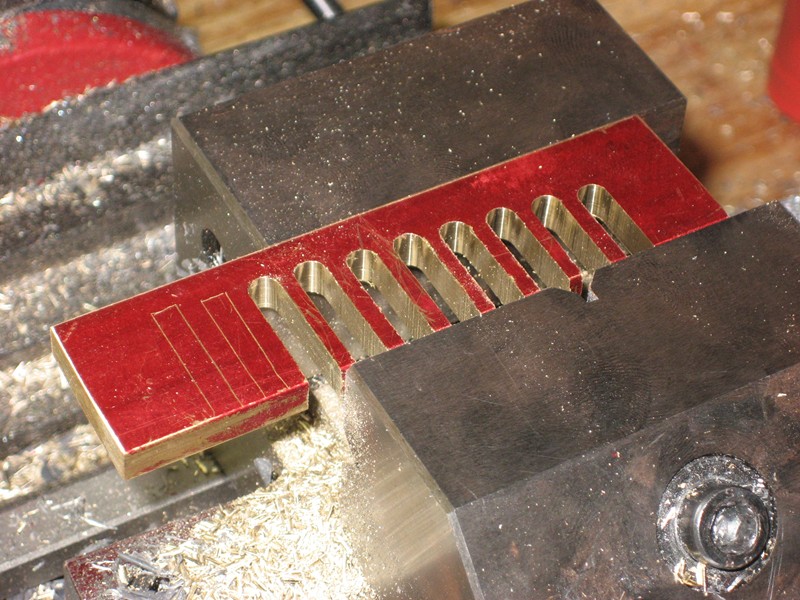
This shot is clearer. I've used a small file to debur the edges where I milled out the slots.
And here I am working on the new screw holes for reed mounting. I also put in 3 new holes near the front to help make it more airtight. Yeah I know, my hands are filthy. At this point I had already done some sanding on the comb and some polishing, that's why my hands look so dirty, that polishing compound makes a mess.
And here it is with the new screw holes. I haven't drilled the holes for the cover plates yet.
Here's a test fit of the covers. I didn't do a very good job of drilling the cover screws. Since they already had holes from the tiny nails I had to try and flatten out the metal as best I could, also the nails don't line up from top to bottom so the existing holes make it difficult to drill new holes and get them right where you want them, the drill bit has a tendancy to want to follow the existing hole, even if you take a hammer and flatten them out as much as possible. Excuses excuses. hahaha
Another shot during test fitting. I left extra material all around the comb so when I got the reed plates on I could use the belt sander to bring the metal down to match the reed plates for a nice finished look. I also rounded the corners because I find it more comforatble, the sharp corners on my Special 20 can sometimes feel a bit uncomfortable, so I decided to make nice round corners on this.
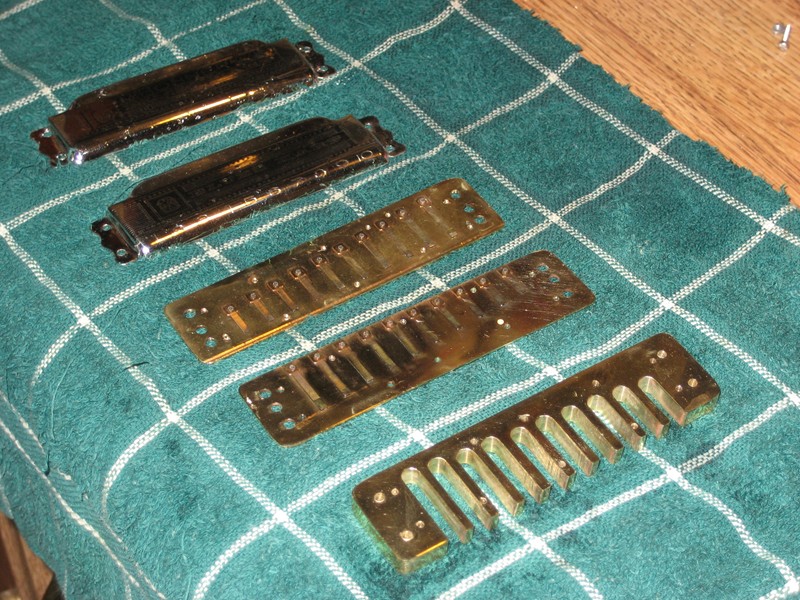
And in case you were worried that I was just going to throw the thing back together all filthy and start playing it, here's a shot of the parts after a good washing.
Starting to reassemble the harp after cleaning all the parts.
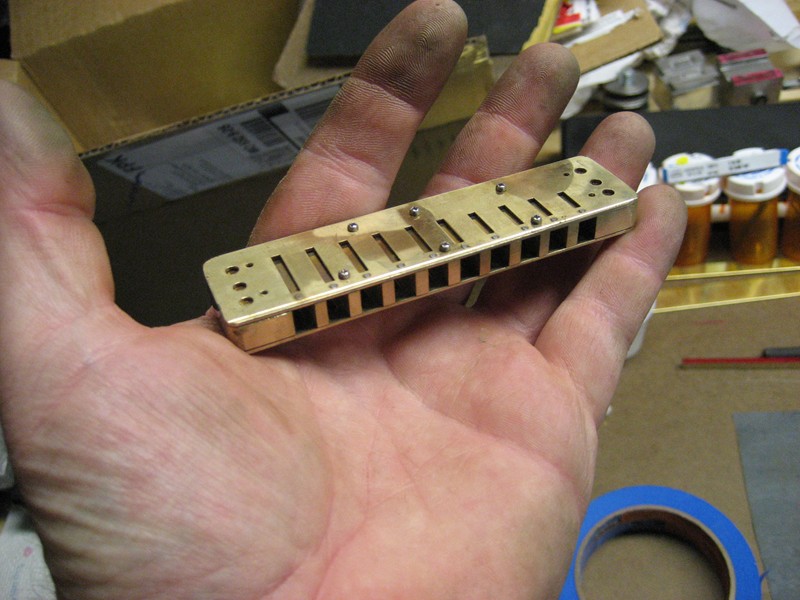
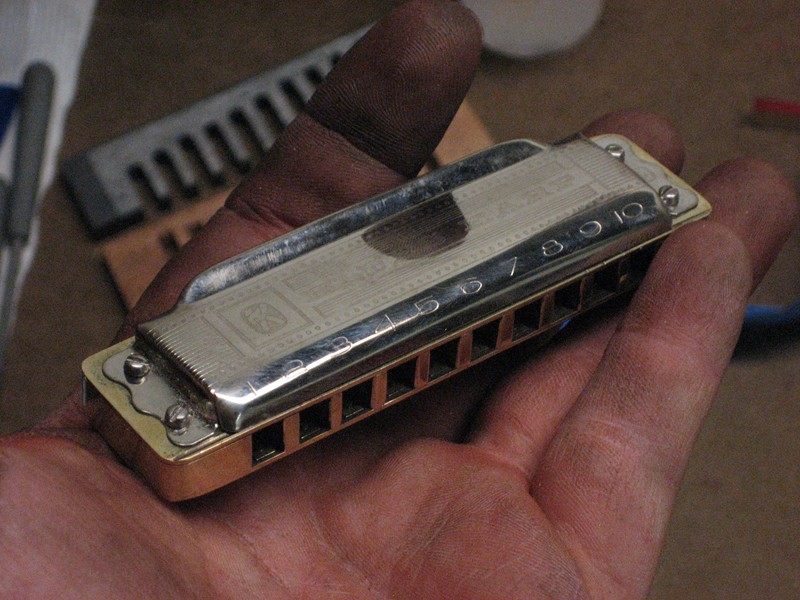
And finally with the cover plates back on.
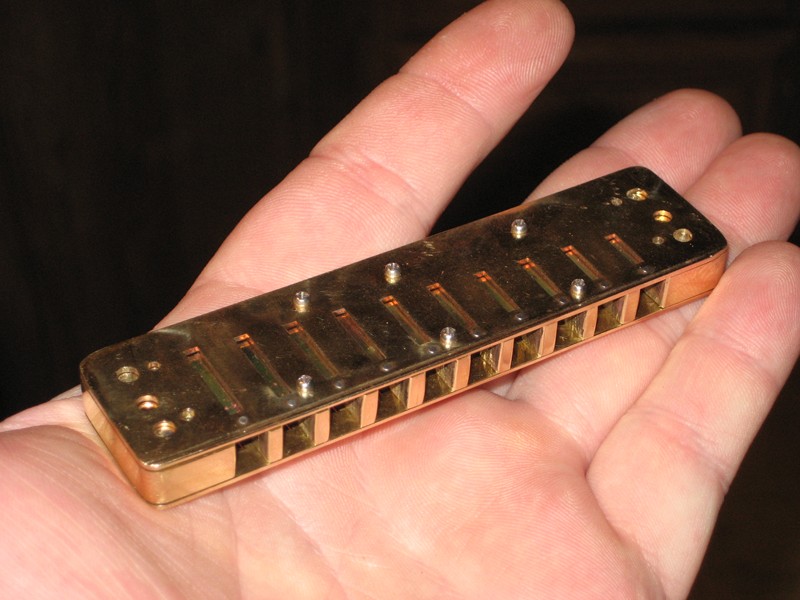
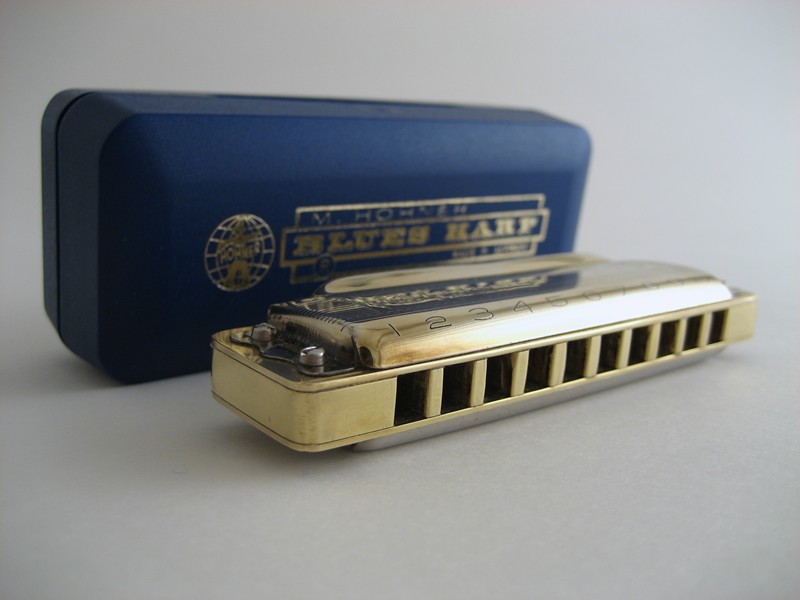
Another shot. You can see that I rounded the edges on the tines ( I think that's what they are called ) to make it more comfortable on the tongue.
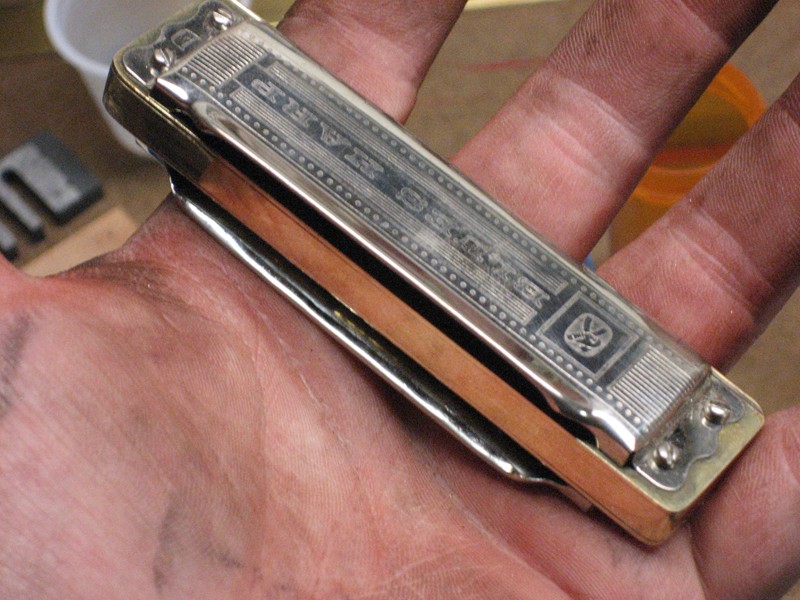
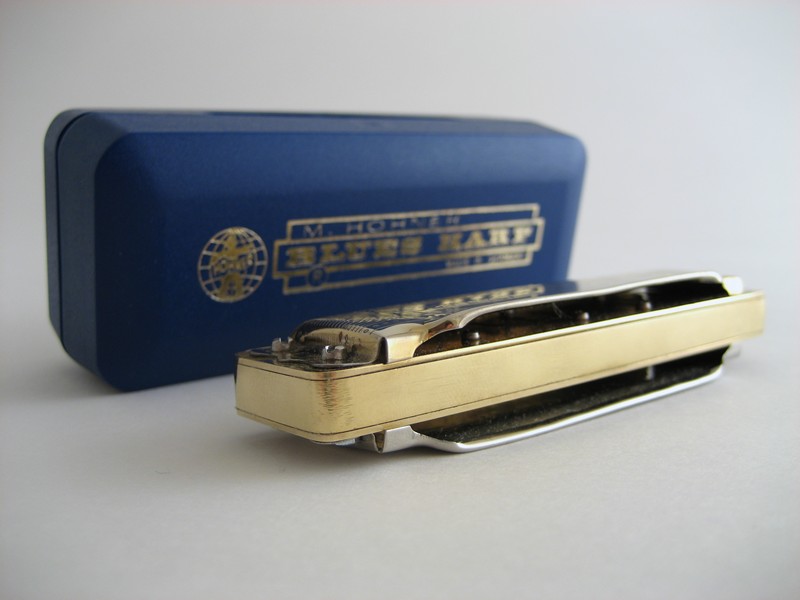
A shot of the back showing the nice fit I got by making the comb oversize and then using the belt sander to bring it down to the finsihed size. The buffing and polishing really makes it look nice.

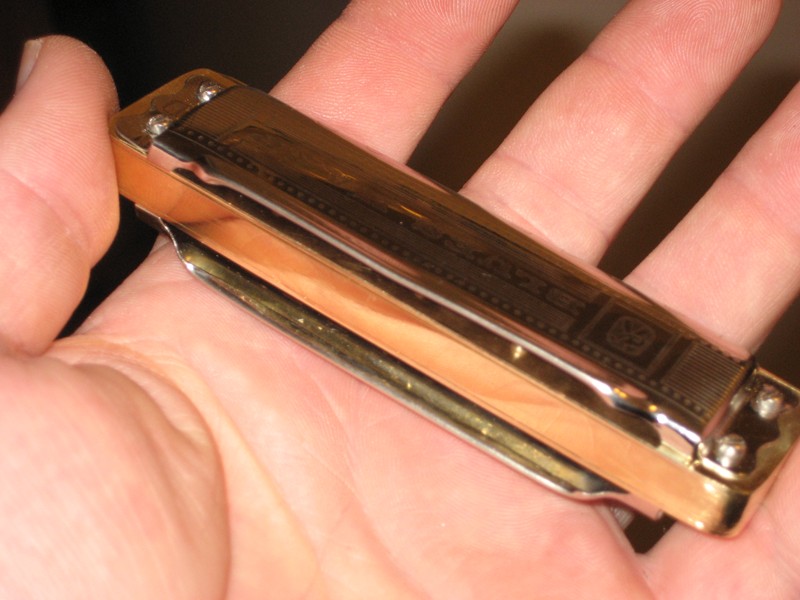
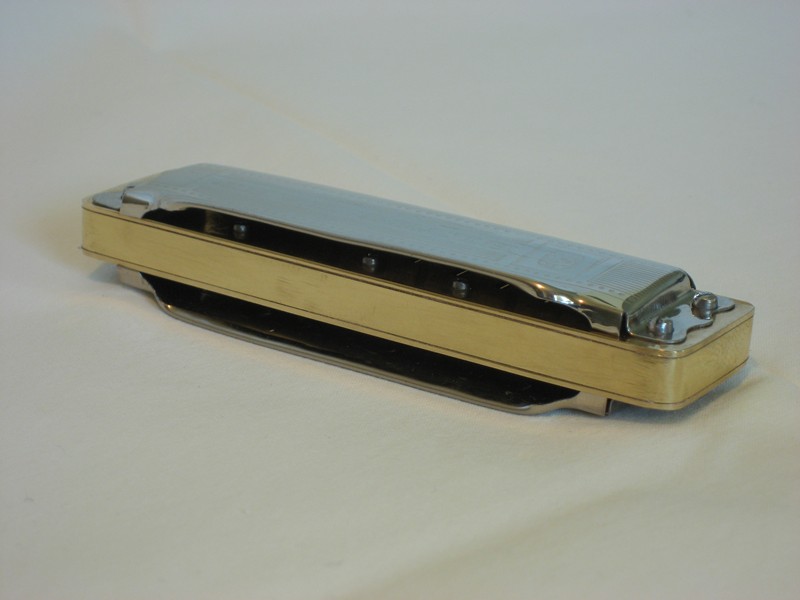
Another shot of the back, you can see that I rolled the edges of the cover plates over to open the back up.
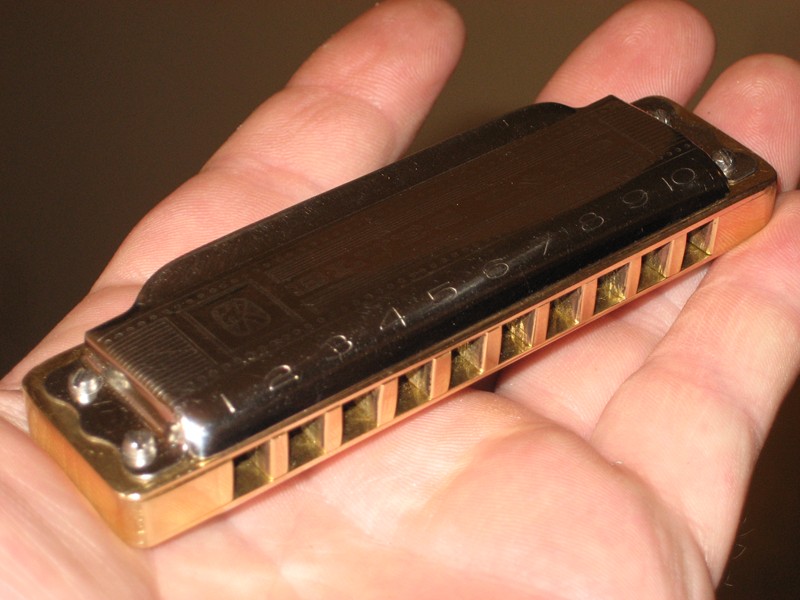
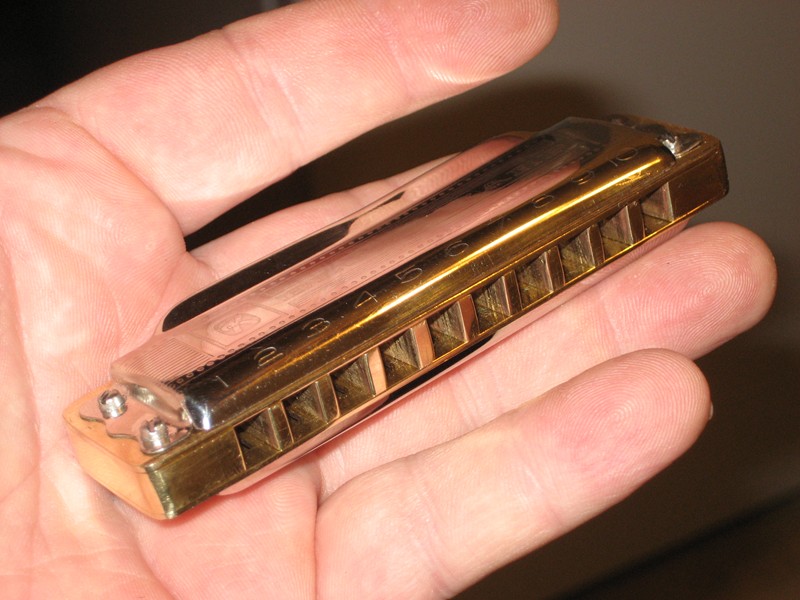
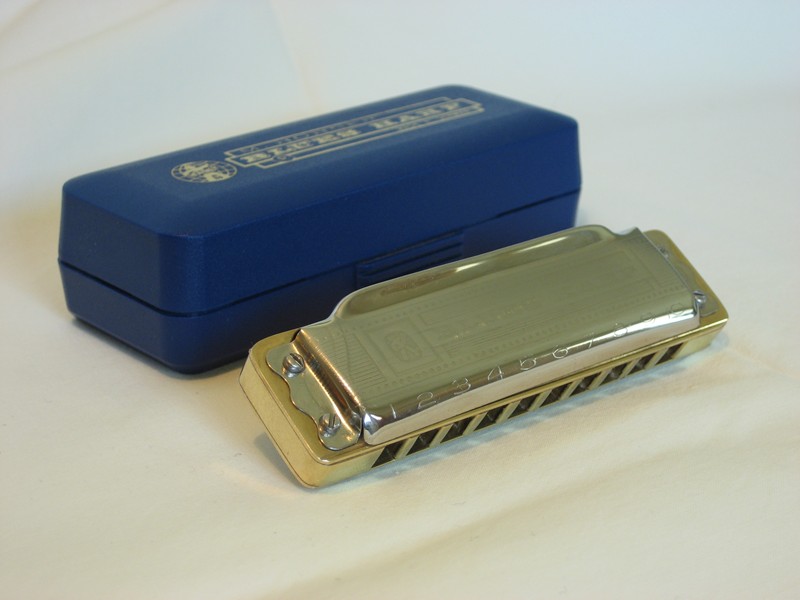
And the finished harp.
All in all I'm pretty happy with the way it turned out. This is the first time I've tried making a comb from metal on my little milling machine. It's a pretty easy process but one that I'm sure I could do more accurately if I put more effort into it. That said the comb works great and the fit is excellent. One thing that I still need to take care of is that the rivets for the reeds seem to be hitting the comb, if you hold it up to the light you can see a bit of light between the reed plates and the comb. I'm guessing I didn't get the slots cut long enough for a couple of them and that's why the rivets are holding the reed plate away from the comb. I don't know if using micropore tape would be enough to fill in the space or not. When you hold it up to the light you can only see light near the first 4 holes, you can't see light at the other end. From start to finish the whole process took about 5 1/2 hours. One thing I like, the additional weight, it really feels solid.
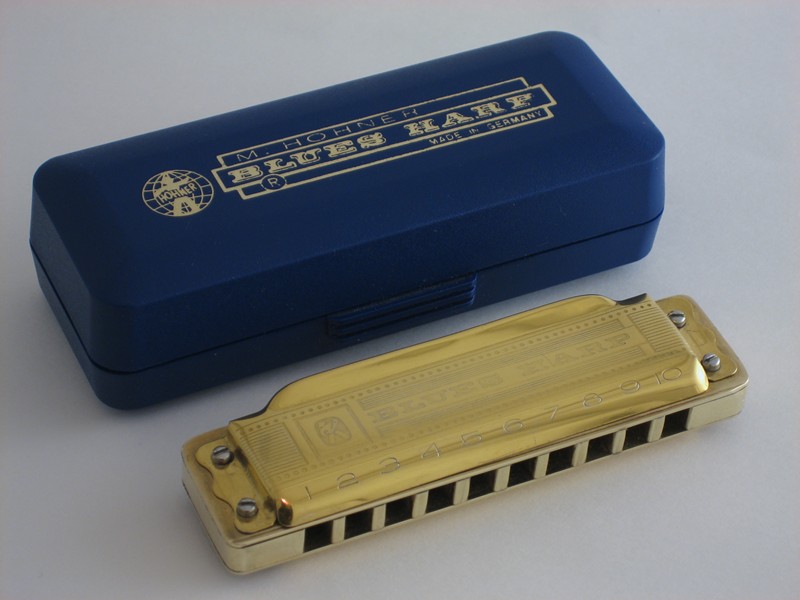
Decided to take some better pictures this morning of the finished harmonica......
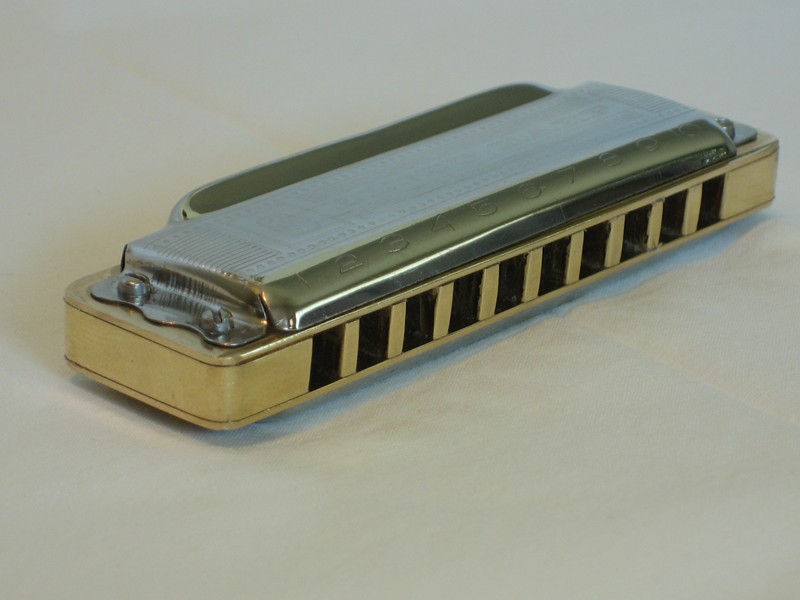
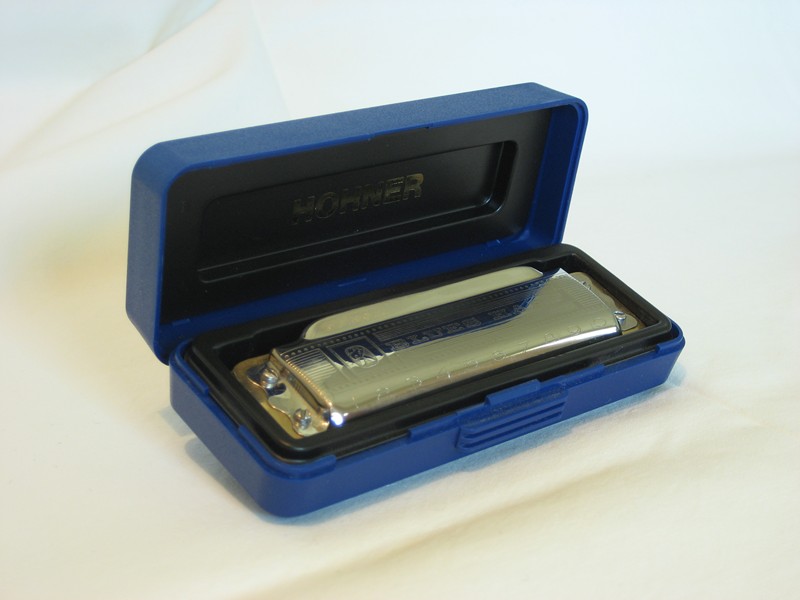
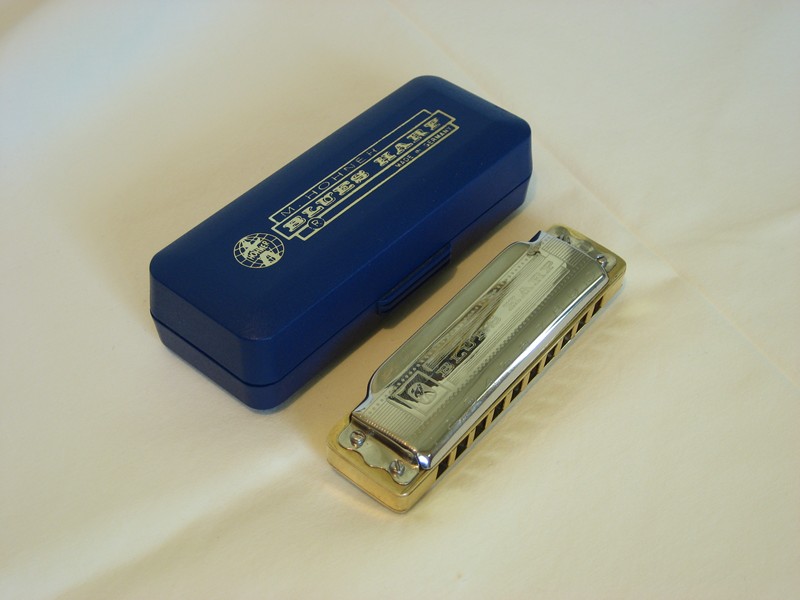
I think it came out looking pretty good for a 20+ year old harmonica. I'm really happy with it, and after doing some gasketing with micropore and chapstick the thing is extremely airtight. The brass comb really increases the volume and the sound is really bright compared to the original wood comb. Hope you enjoyed the pictures. And a big thanks to Rupert Oysler, Bill Romel, and all the folks on the harptalk group on yahoo for their inspiration.
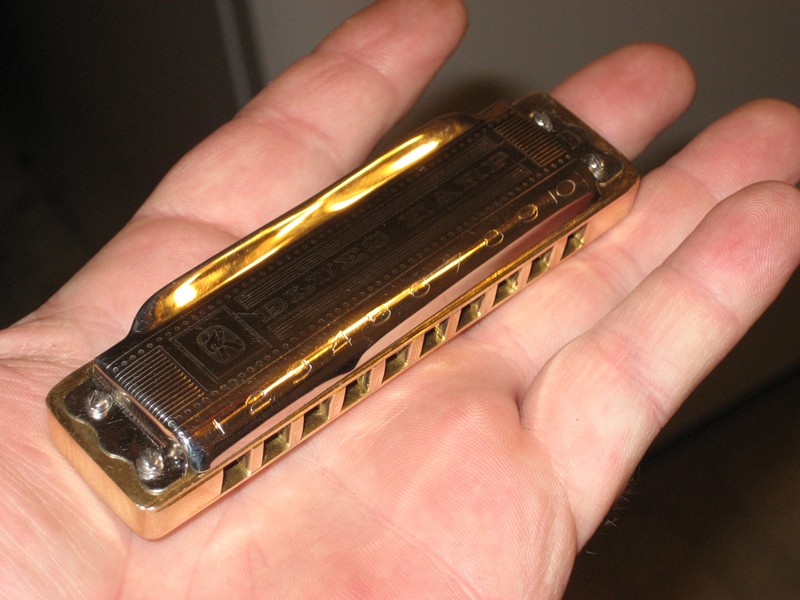
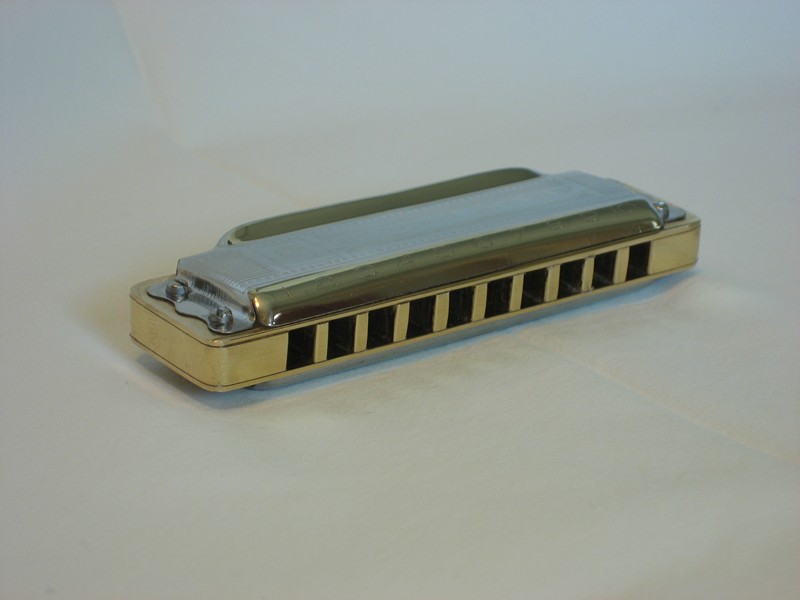
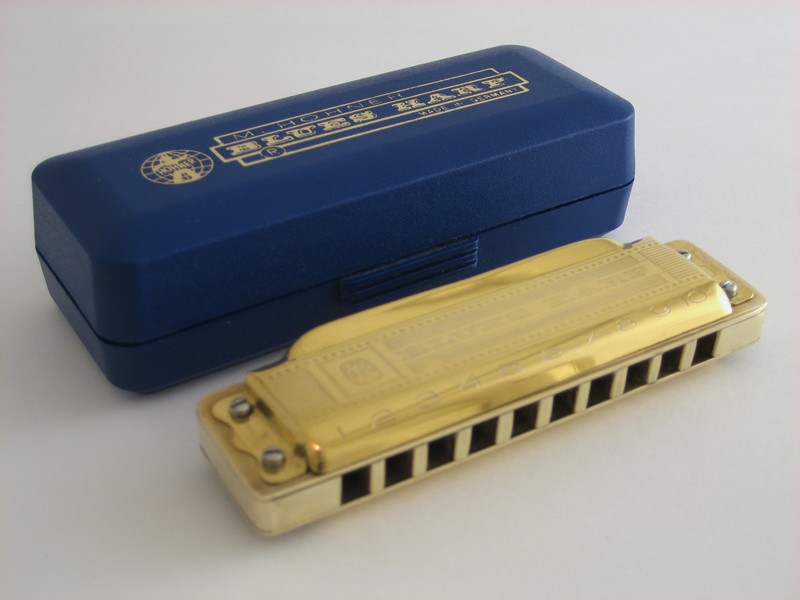
Took some more pictures tonight. I built a new light tent for photography and I've been taking pictures of the harmonicas I've been tinkering with. I also 24ct gold plated the covers on this one tonight. I'm new to plating and have a little kit from caswell.
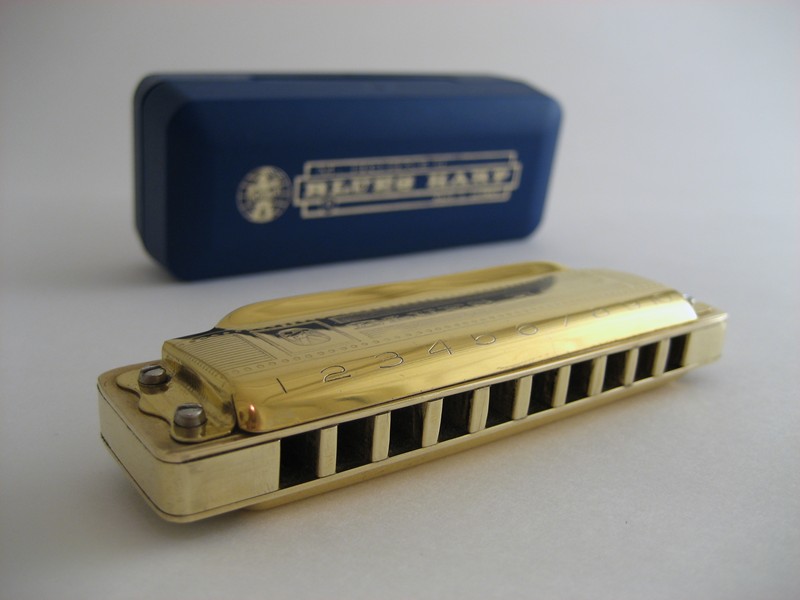
I really like the look of this picture. The new light tent is working out great for these pictures.
The color of the gold plate came out pretty good. I'm really pretty happy about it. The gold plating kit that I got is a brush plating setup, but I actually did this one by submerging the part in the plating solution. Since they are small parts they really work out better by dipping the parts rather than brushing it on.
Hope you enjoyed the new pictures.
Here's a soundclip of the new brass combed harmonica, keep in mind, I'm not very good. hahaha
HOME