
Customizing My 1896 Marine Band Harmonica
I got my first Hohner 1896 Marine Band harmonica in the mail 12/31/07 and spent the night playing it, then spent all of new years day in the shop making a new brass comb for it and modifying the cover plates.
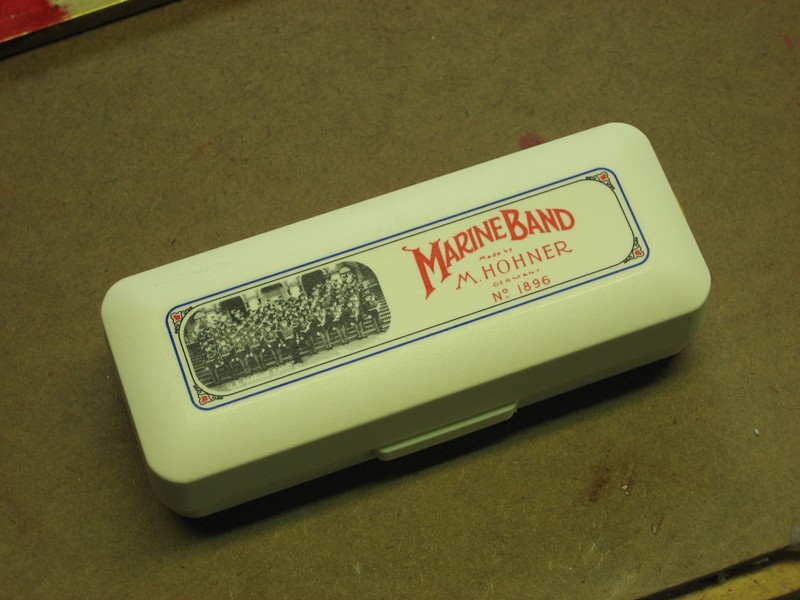
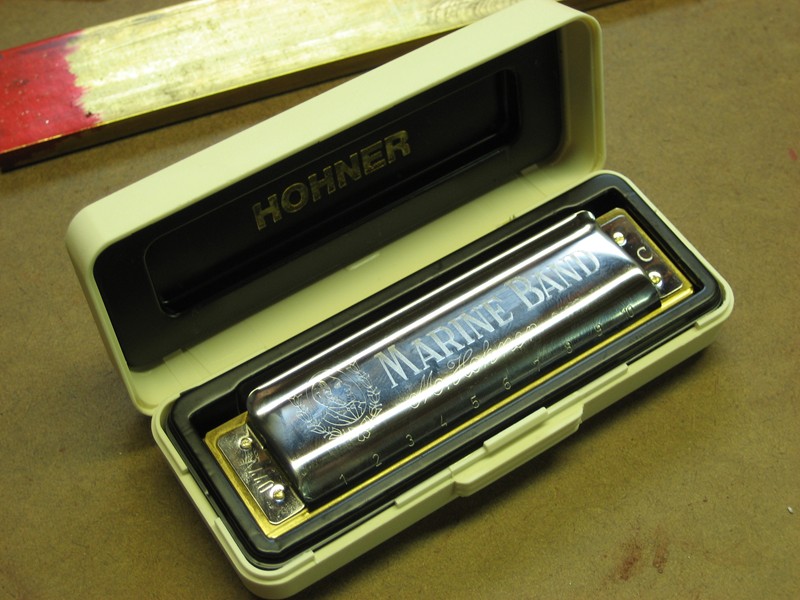
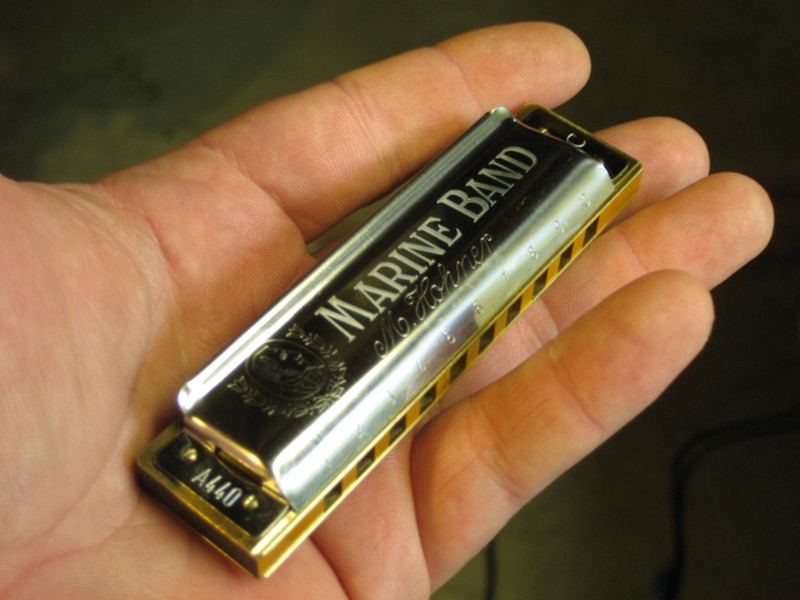
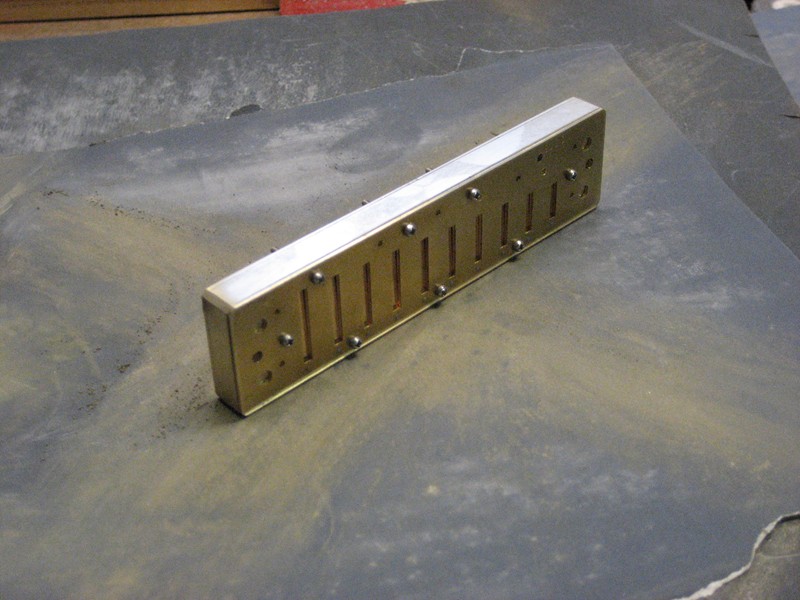
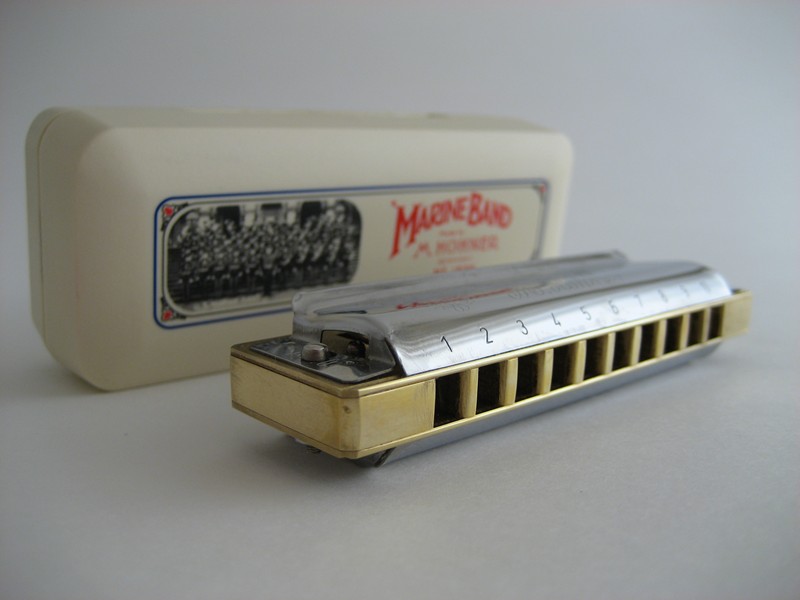
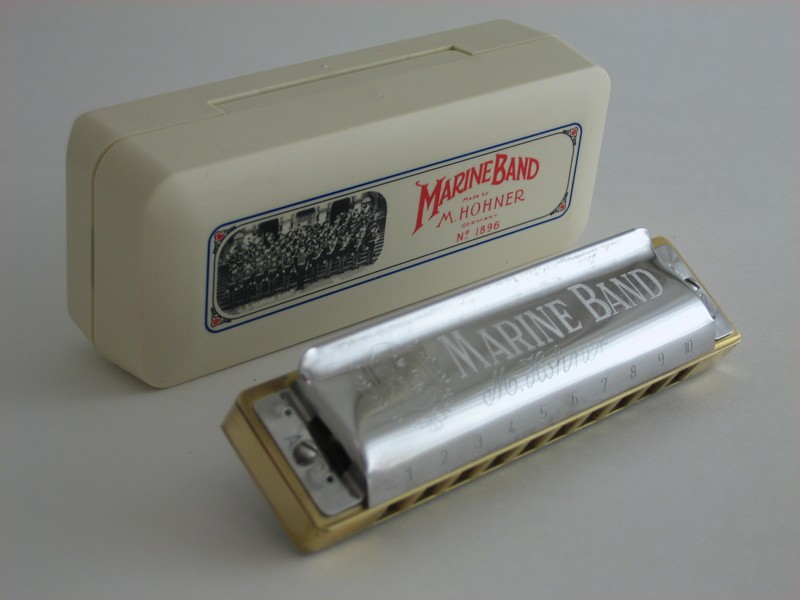
Here it is, the 1896 Marine Band

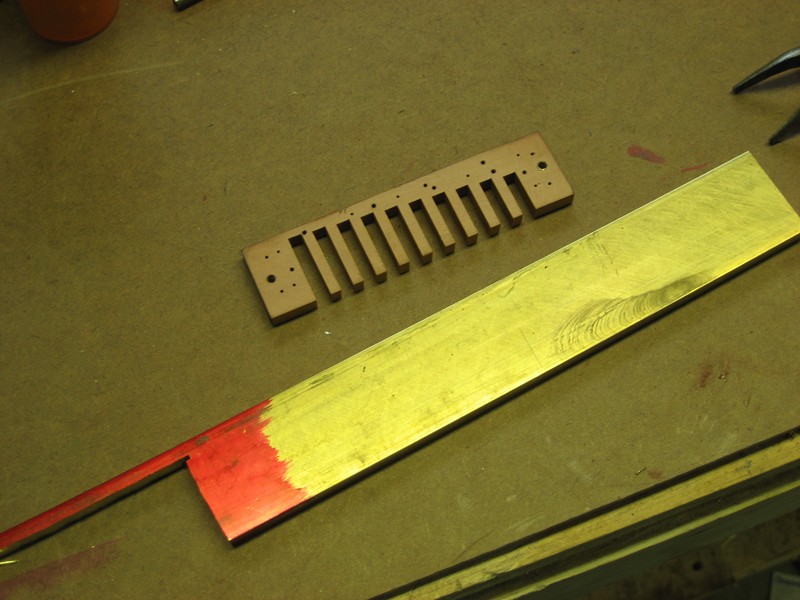
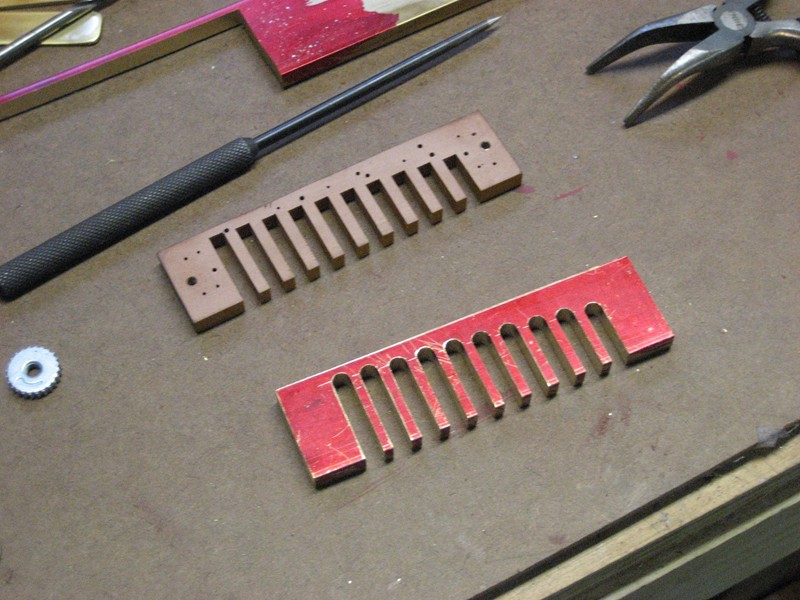
Getting ready to layout the new brass comb.
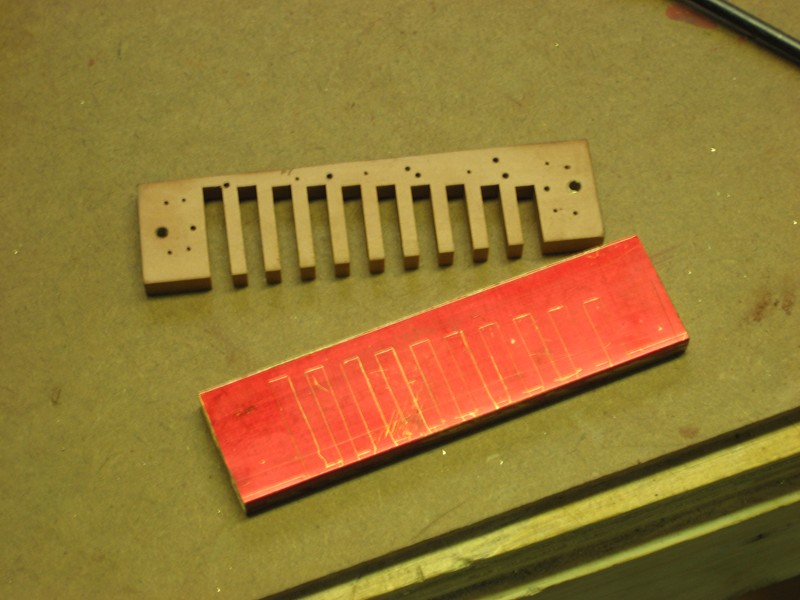
Here it is after cutting and belt sanding the edges.
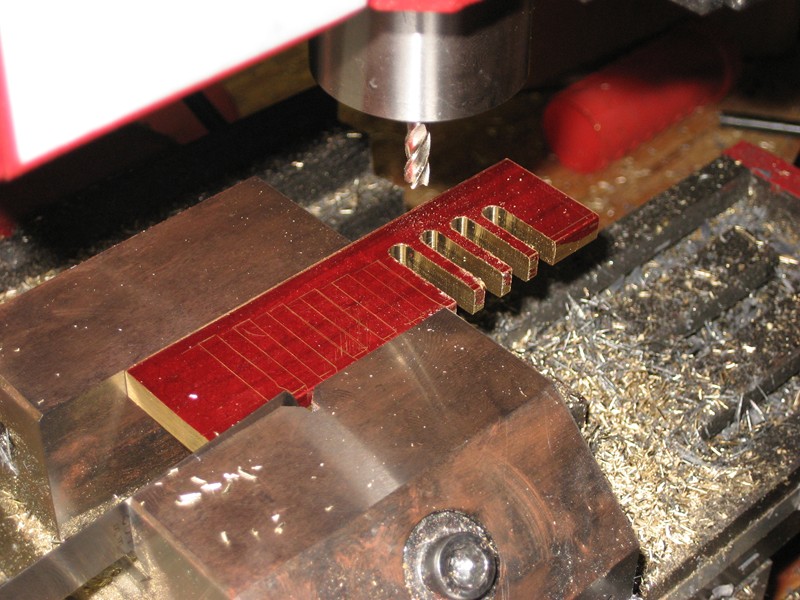
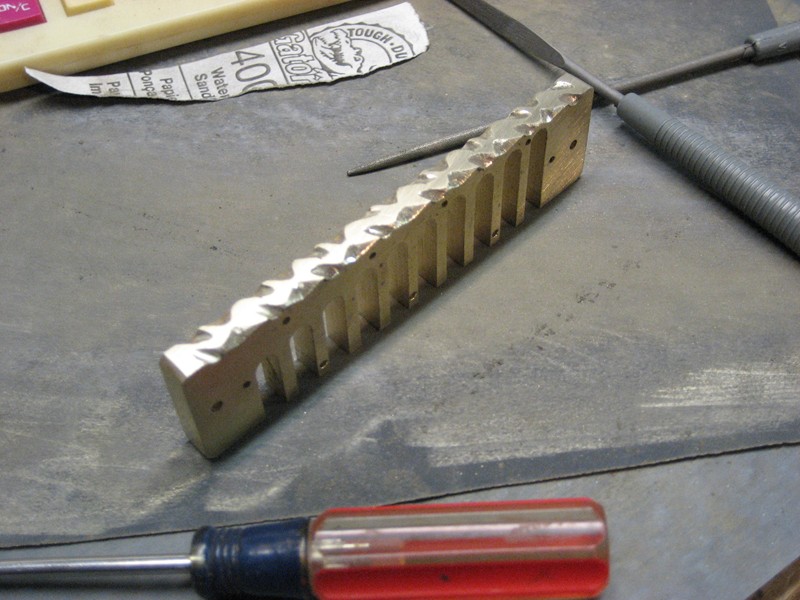
Milling the tines on my mini milling machine.
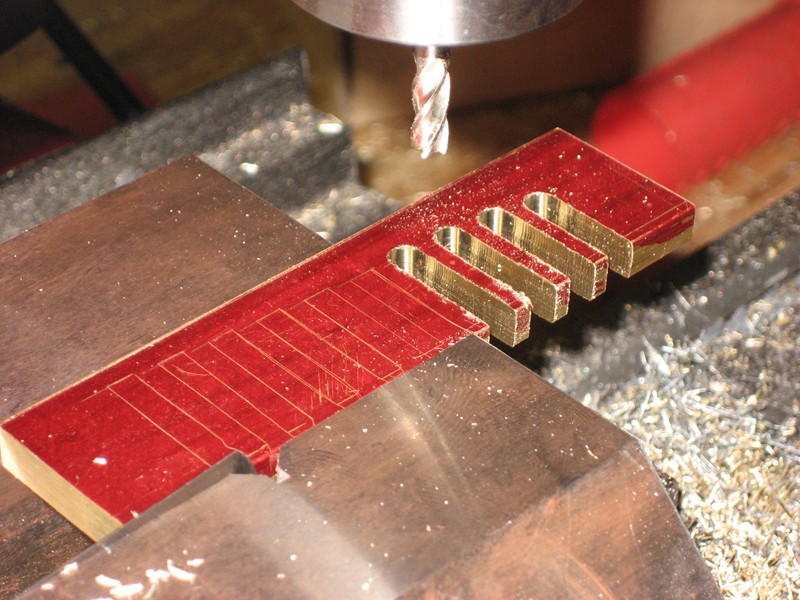
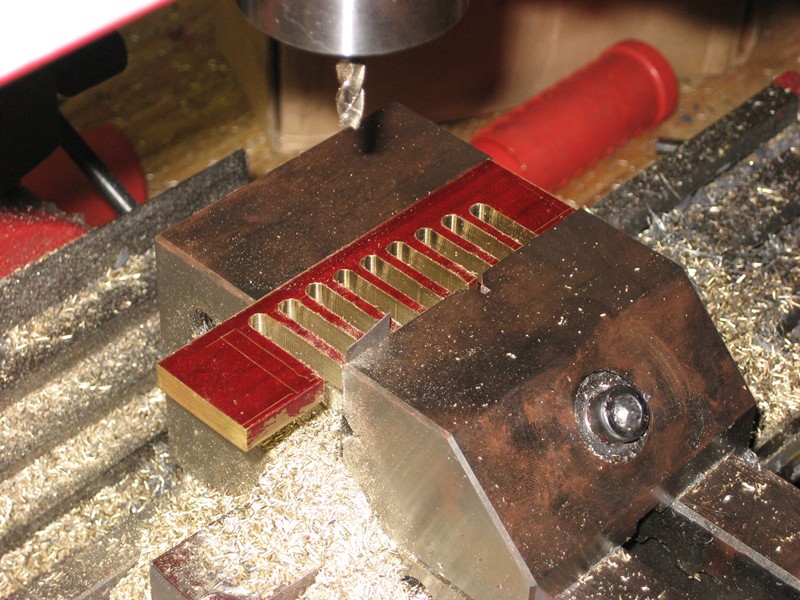
Almost done with milling.
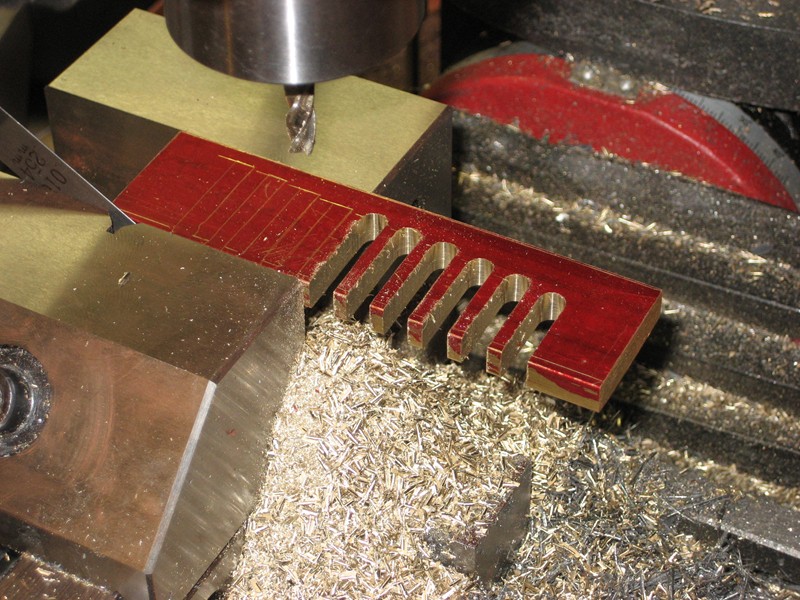
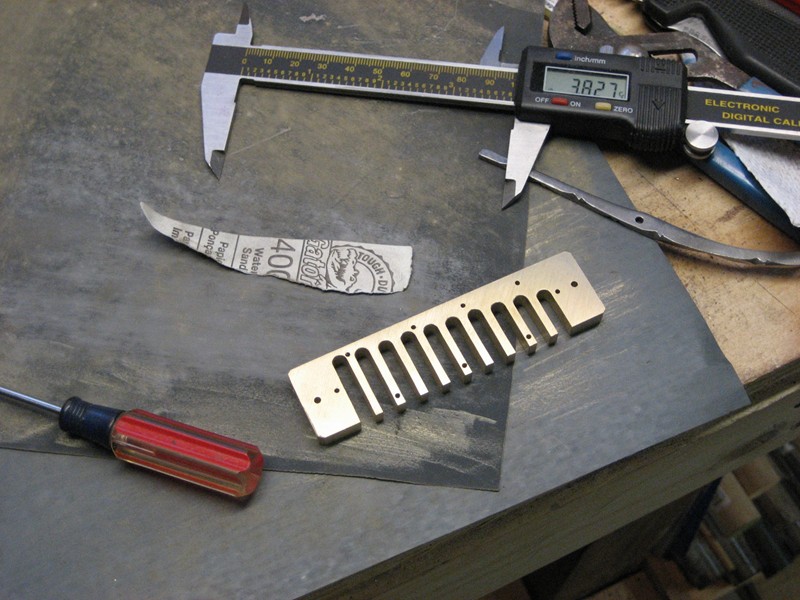
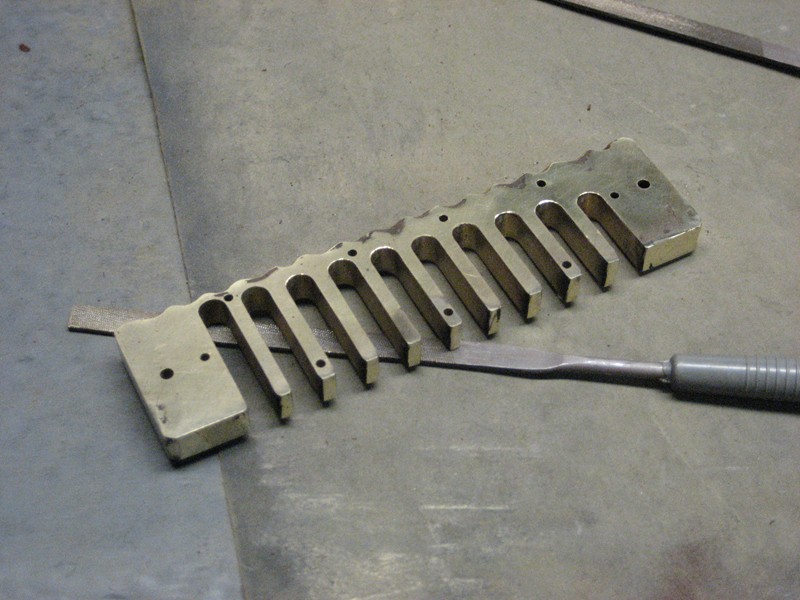
Milling complete.
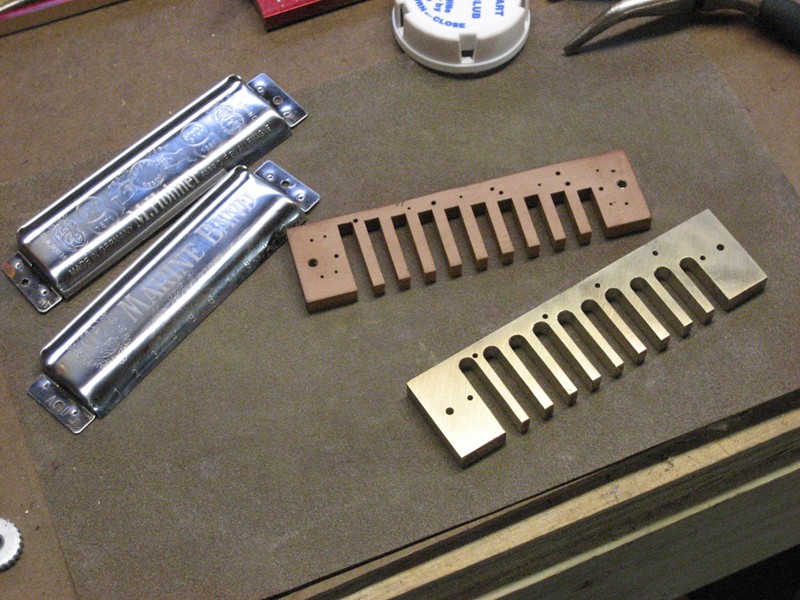
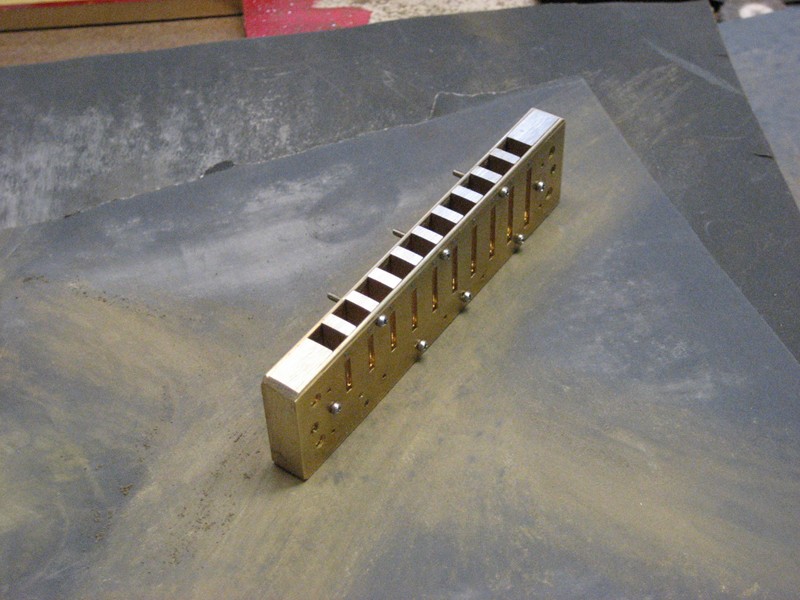
Before I removed the reed plates from the wood comb I first drilled the new reed plate mounting holes for the screws.
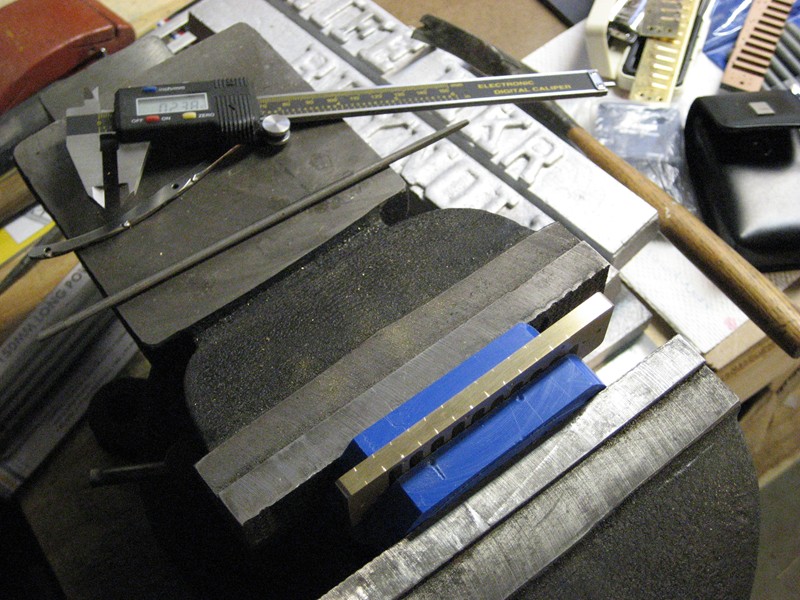
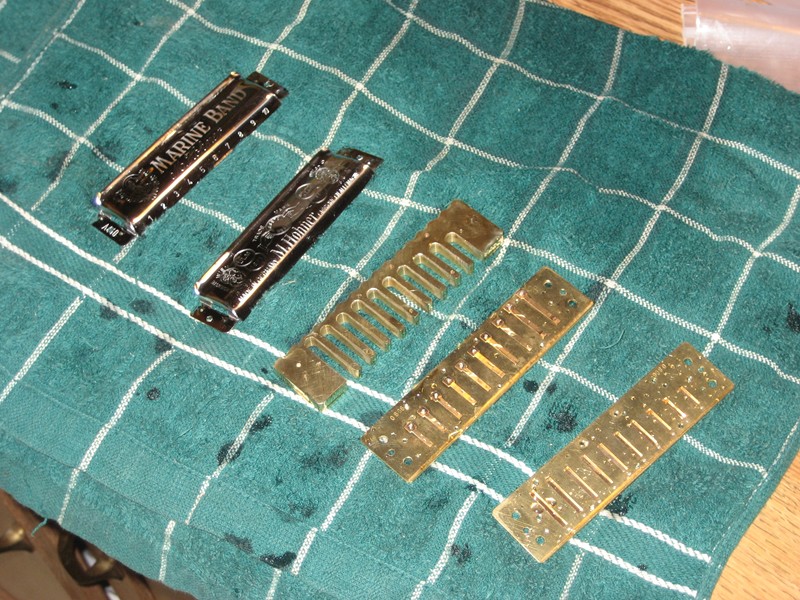
After the new holes are drilled and tapped I put the reed plates on the comb and use different grits of sandpaper to finish bringing the edges of the comb down to match the reed plates.
I do this for all the edges. I usually take it down to 1200 grit paper before doing any of the buffing and polishing.
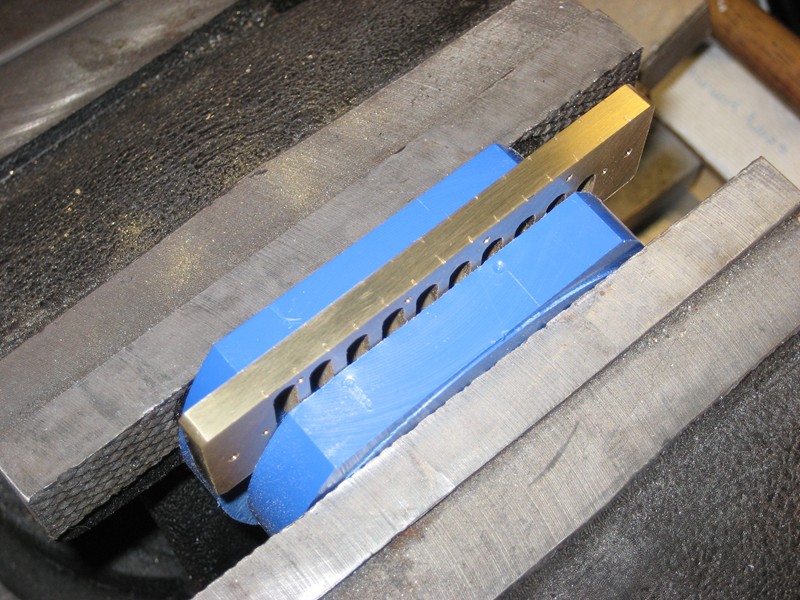
Here I'm in the process of going through the different grits on the surfaces where the reed plates will go.
I wanted to try and dress up the back of the comb a bit this time so I thought I'd do some filework. Filework is something that custom knifemakers do to dress up the back of the blade as well as the spine in the handle. My intention was to do a vine pattern on the back but I screwed it up.
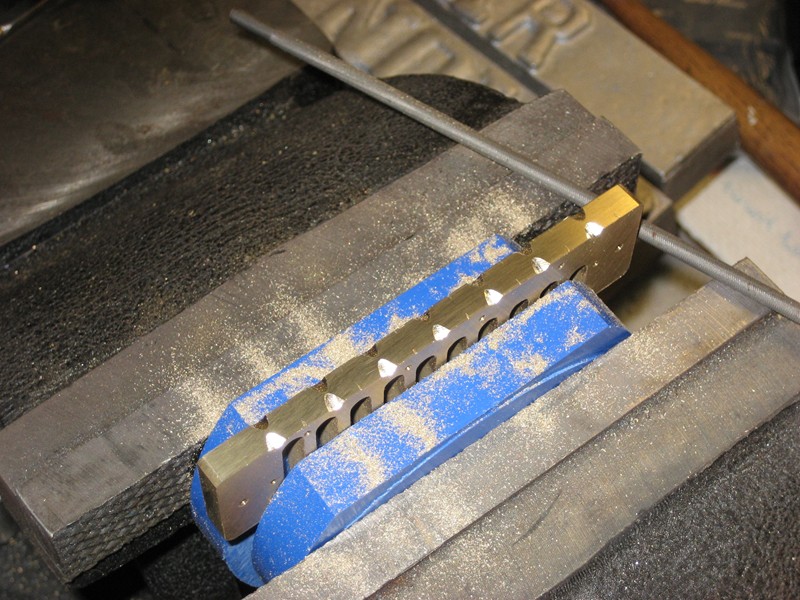
To do a vine pattern you start by using the round file to create dips in the edges of the metal. Unfortunately since it had been a while since the last time I did this I forgot that the round dips where supposed to alternate from side to side, not be directly across from one aother. :-(
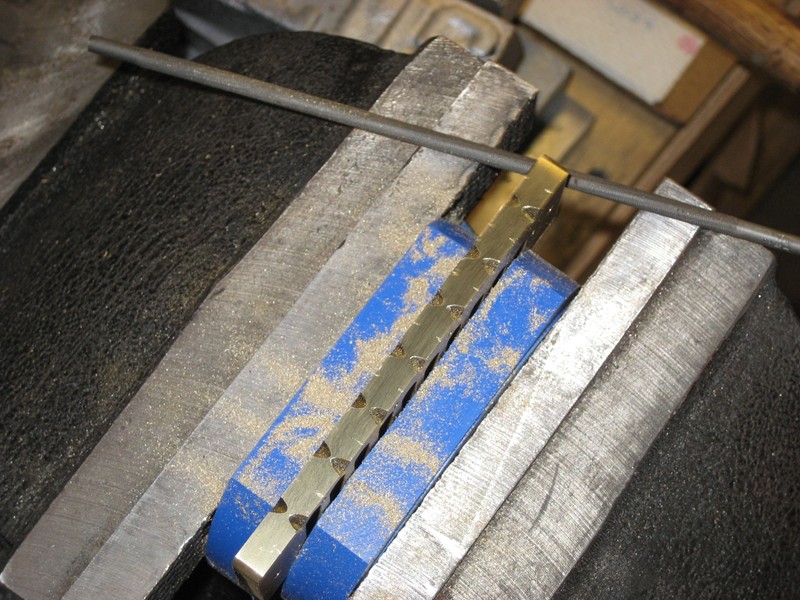
Then you are supposed to use a triangle file to create well triangle recesses.
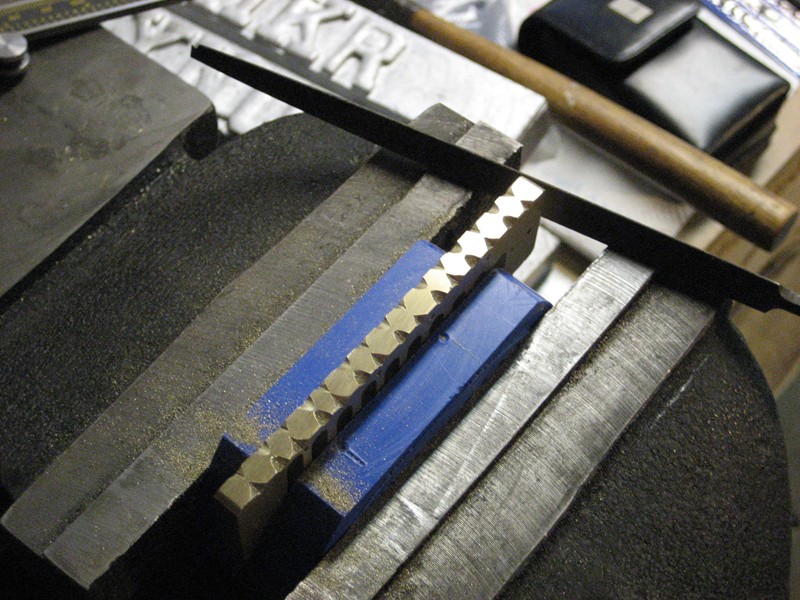
So what was supposed to be a vine pattern turned out to be a mess. hahaha It still dresses it up a bit rather than just having it plain.
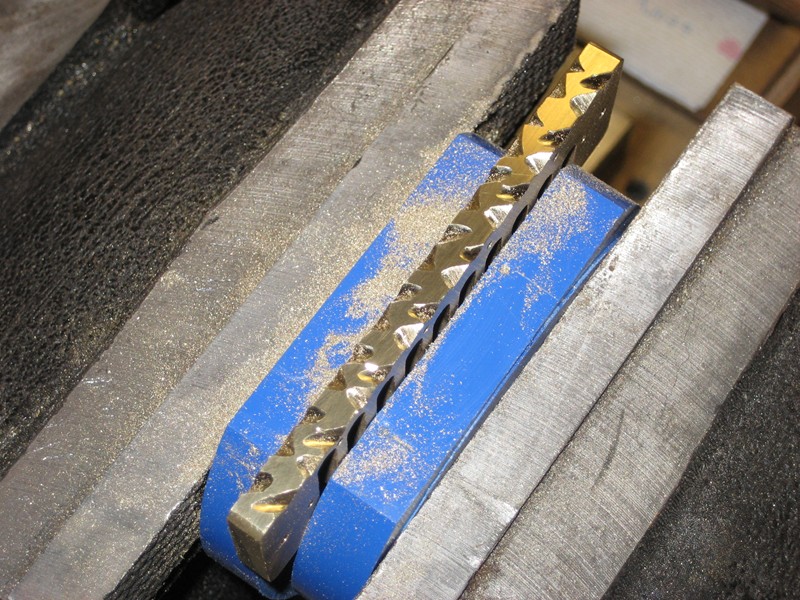
So here it is after some work with the files. Next I take some 400 grit paper and wrap it around the round file and start working out the scratches made by the files. The actual pattern is kind of hard to make out in these pictures.
Here I'm in the process of smoothing and polishing the new brass comb. I decided to use one screw on each end to mount the cover plates rather than try and use the existing nail holes. On the last one I did the holes didn't match up very well from top to bottom so two of the screws were closer to the end of the cover plate and made it a bit hard to get the nuts on. So this time I just drilled entirely new holes for the cover plate screws. I took the cover plates and held them upside down with the lip that had the nail holes in it on a piece of wood, then used a small hammer to flatten out the holes where the nails were, which flattened out the ends of the cover plates and closed up the holes a bit.
Washing up all the parts to get any left over polishing compound and dust off the parts.
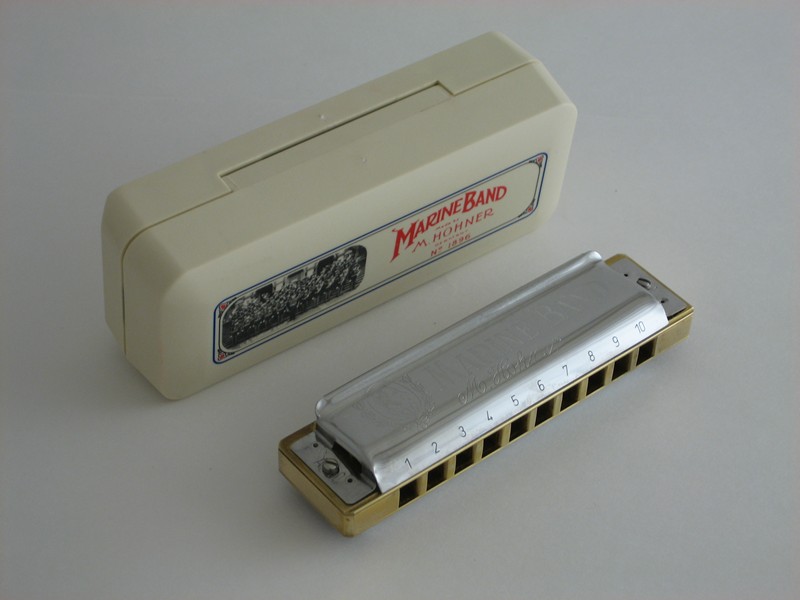
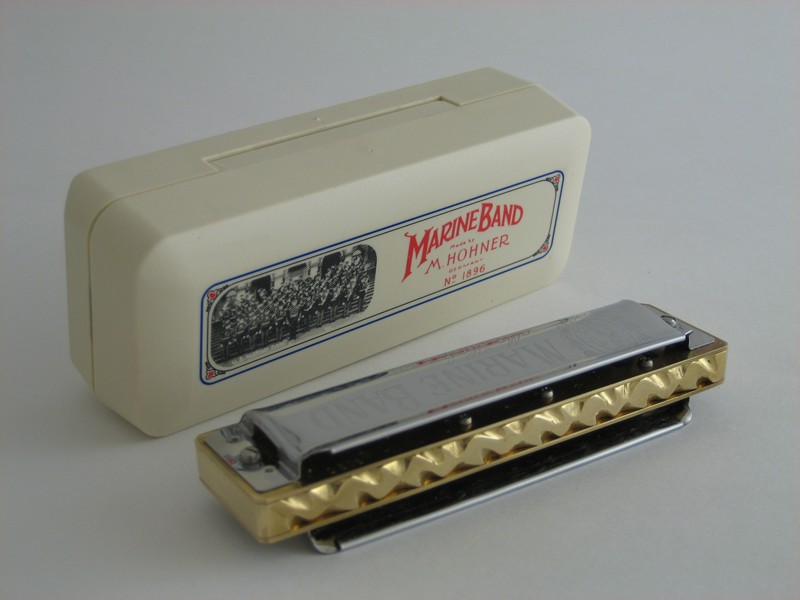
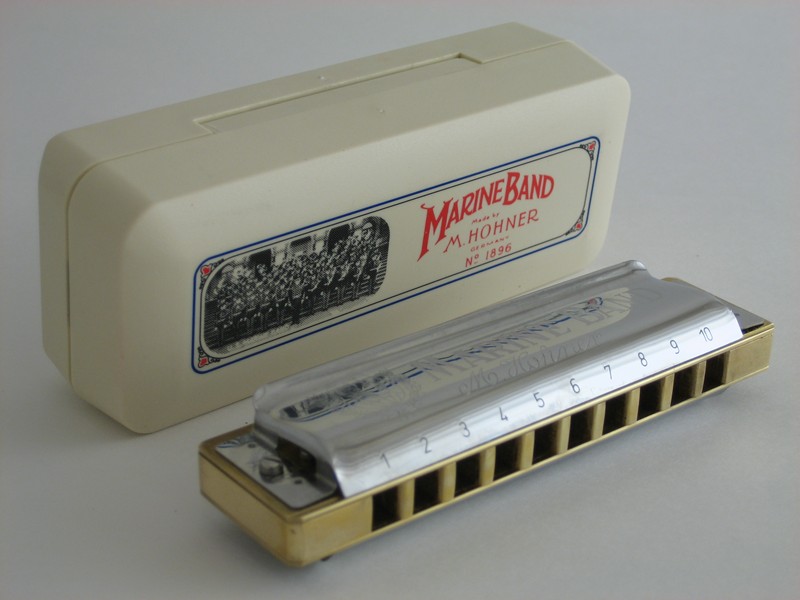
And here it is back together with the new comb.
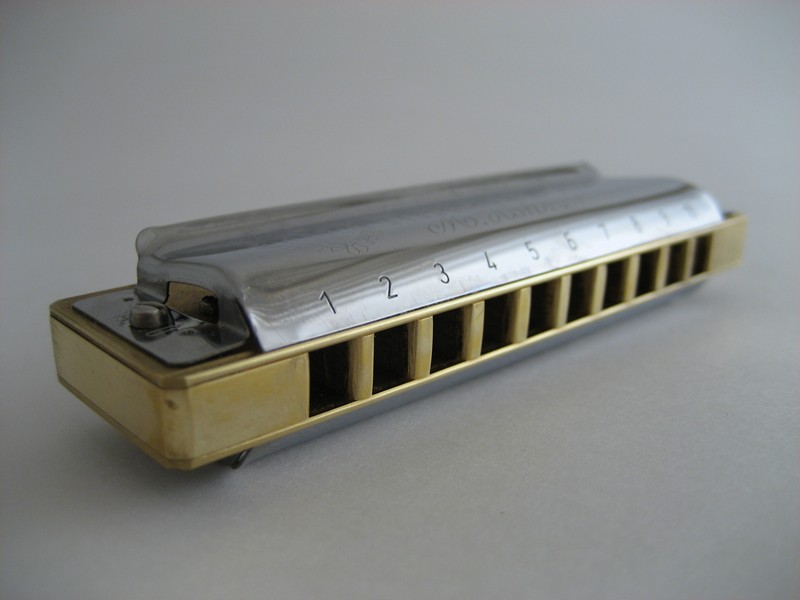
Here you can see the back of the comb and the messed up filework. Even though it didn't come out like it was intended to, I still like it, and I think it dresses up the back of the harp more than just leaving it untouched. I just got in some more brass so I think I'm going to make another comb with a different file pattern on the back.
And that's all folks. I will say this, the 1896 with the brass comb and opened up cover plates will really scream!